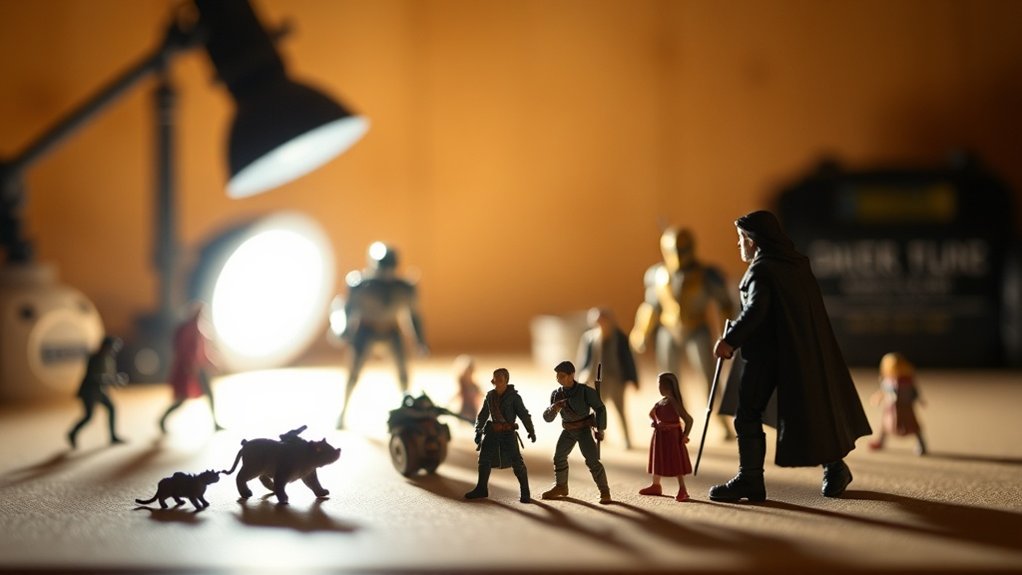
Mastering three-point lighting is key to dynamic toy photography. The key light serves as the main illumination source, highlighting subjects and their emotions. With the fill light, balance shadows and keep key details visible by placing it opposite the key light. The back light elevates dimension and drama when placed behind your subject. Employ softboxes or LED panels for budget-friendly setups. Stay tuned to explore more techniques for perfecting your toy photography scenes.
Understanding Three-Point Lighting
Three-point lighting is a foundational technique you’ll want to master in toy photography. This method provides a balanced illumination that enhances your toy subjects, making them appear dynamic and lifelike. You’ll use three main lights: key, fill, and backlight. Each plays an essential role in shaping the scene’s mood and depth.
Start by positioning the fill light to reduce shadows and soften the harshness created by the key light. This light guarantees details aren’t lost in dark shadows, giving your toys a more natural look. Then, use the backlight to separate the toy from the background, adding depth and texture. This light subtly highlights edges, creating a three-dimensional effect. Mastering this technique will greatly elevate the visual impact of your toy photography.
Key Light: The Main Source of Illumination
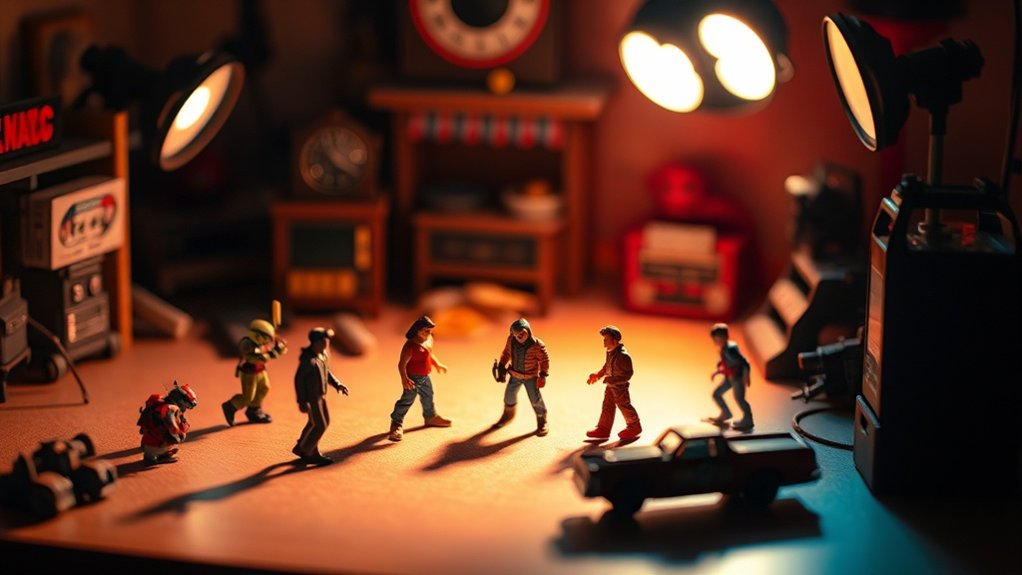
In toy photography, the key light serves as the primary source of illumination, shaping the overall mood and focus of your scene. It’s essential for drawing attention to your subject, highlighting its details, and setting the tone you want to convey. Position the key light strategically to achieve a compelling look, whether dramatic or soft.
Consider these emotional impacts when positioning your key light:
- Mystery: Place the light at a low angle for dramatic shadows, creating intrigue.
- Warmth: Use a warmer light to evoke feelings of comfort and nostalgia.
- Intensity: A bright, direct light can generate excitement and energy.
Experiment with different angles and intensities to see how the light transforms your scene, making your toy photography truly come alive.
Fill Light: Balancing Shadows and Highlights
While mastering toy photography, you’ll find that the fill light plays a crucial role in balancing shadows and highlights, ensuring your subject doesn’t get lost in darkness. By strategically placing a fill light opposite your key light, you can soften harsh shadows and reveal details in your toy’s features. It’s important to keep the fill light dimmer than the key light to maintain some contrast, giving your subject a more natural and dynamic look.
Experiment with different angles and intensities to achieve the desired mood and depth. You might want to use reflectors or diffusers to control the fill light’s softness. Remember, the goal is to enhance your scene’s visual appeal without overpowering the main light source. Practice makes perfect, so keep adjusting until you’re satisfied.
Back Light: Adding Depth and Separation
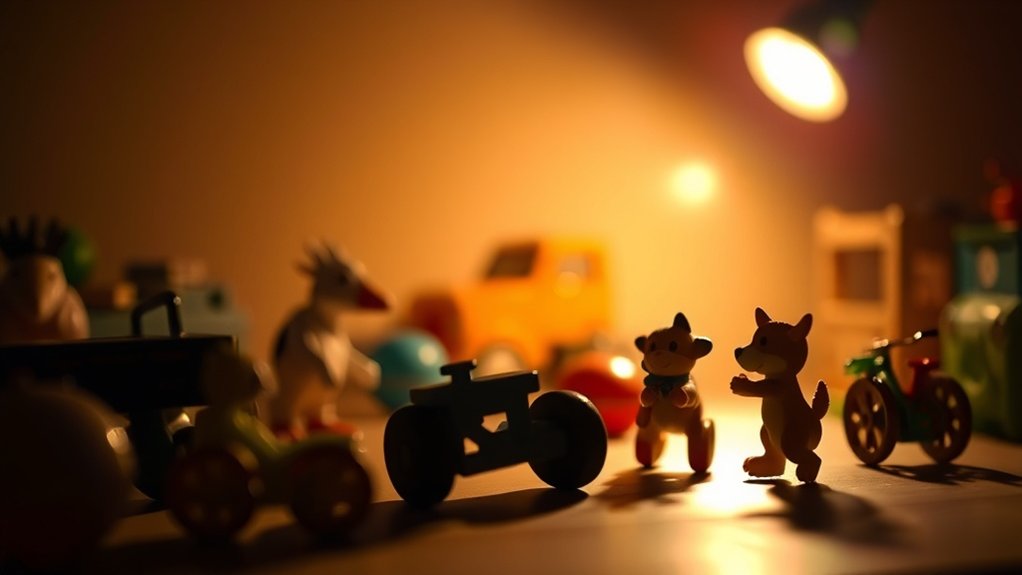
As you refine your lighting setup, back light becomes important for adding depth and separation to your toy photography. It highlights the edges, creating a sense of dimension and making your subject stand out from the background. Position the light behind your subject, aimed slightly towards the camera, to achieve a subtle glow around the toy. This technique not only enhances realism but also brings your scene to life, evoking powerful emotions.
- Mystery: A well-placed back light can create intriguing shadows, sparking curiosity.
- Drama: Highlight the toy’s contours for a more dynamic and intense scene.
- Focus: Direct attention to the toy, ensuring it remains the star of the show.
Choosing the Right Lighting Equipment
When choosing the right lighting equipment for toy photography, you’ll want to focus on essential tools that enhance your creative vision. Consider budget-friendly options like LED panels or desk lamps, which can offer flexibility and control without breaking the bank. Prioritize equipment that adapts to different scenes, ensuring your toys are always perfectly lit.
Essential Lighting Tools
Lighting can make or break your toy photography, turning a simple scene into a mesmerizing masterpiece. Choosing the right equipment is essential. You need tools that enhance creativity and provide flexibility. Consider these important lighting tools to elevate your scenes:
- Softboxes: Create that dreamlike ambiance with soft, diffused light, eliminating harsh shadows and bringing toys to life.
- Reflectors: Manipulate light direction and intensity, adding depth and drama to your compositions. They’re your secret weapon for those enchanting highlights.
- LED Panels: Adjust brightness and color temperature with ease to match any mood, giving you control over the entire atmosphere.
These tools are your allies in storytelling. They not only illuminate but also evoke emotion, ensuring every scene is a visual delight.
Budget-friendly Lighting Options
While essential lighting tools can greatly enhance your toy photography, you don’t need to break the bank to create mesmerizing scenes. Start by using affordable desk lamps or clip-on lights you might already have at home. These can serve as key lights or fill lights. For diffused lighting, try using parchment paper or a white sheet to soften harsh shadows. Don’t underestimate the power of natural light; it’s free and can create stunning effects when used correctly. Reflectors can also be DIY projects—use aluminum foil or white cardboard to bounce light. LED strips or fairy lights add creative flair without costing much. By mixing these budget-friendly options, you’ll achieve dynamic lighting setups and bring your toy photography to life. Additionally, consider experimenting with different angles and distances when positioning your lights to discover unique effects. Using reflectors for toy photography lighting can dramatically alter the mood and depth of your shots, so don’t be afraid to get creative with their placement. Remember, the key is to play around and find what works best for your specific subjects and scenes.
Positioning Your Lights for Optimal Results
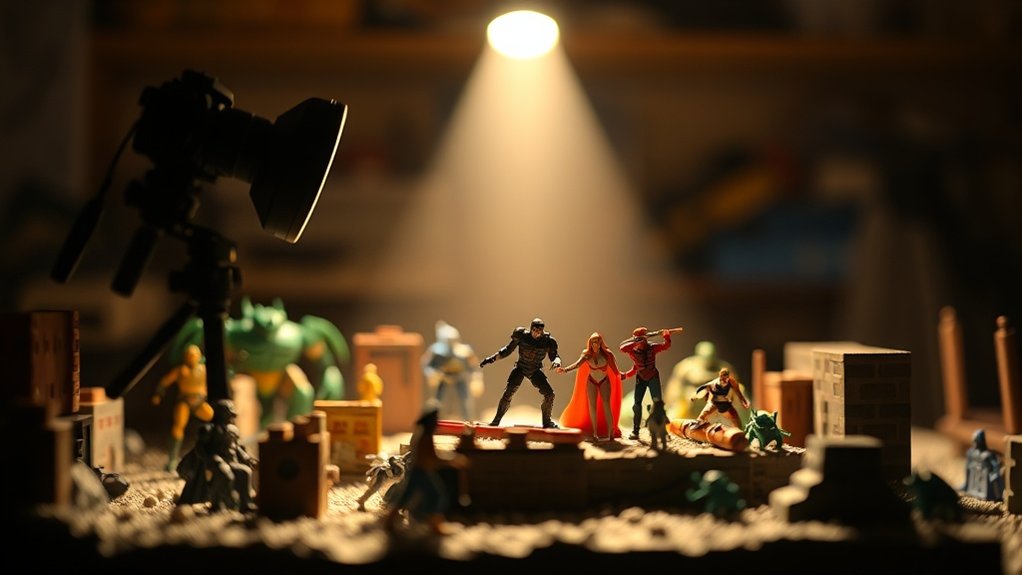
To achieve the best results in toy photography, positioning your lights correctly is essential. Start by placing your main light, or key light, at a 45-degree angle from your scene. This creates depth and dimension. Your fill light should be placed opposite the key light to soften shadows and highlight details. Finally, position your backlight behind the subject to separate it from the background and add a touch of drama.
Consider these emotional elements:
- Mystery: A well-placed backlight can create an intriguing silhouette, sparking curiosity.
- Warmth: Soft fill lighting evokes a cozy, inviting atmosphere.
- Exhilaration: Dynamic shadows crafted by the key light highlight action and energy.
Mastering these positions helps you capture enchanting, emotive images that bring your toys to life.
Adjusting Intensity and Direction for Creative Effects
To create striking toy photos, start by balancing your light sources to achieve the perfect harmony between highlights and shadows. Pay attention to how shadows fall, as crafting them artfully can add depth and intrigue to your scene. By adjusting the intensity and direction of your lights, you can enhance the mood and bring your miniature world to life.
Balancing Light Sources
Balancing light sources in toy photography isn’t just about illuminating your subject; it’s about crafting a visual story that captivates. By adjusting the intensity and direction of your lights, you create moods and atmospheres that draw viewers into your tiny world. Think of each light as a brushstroke, adding depth and emotion to your scene.
- Drama: Use a stronger key light to create bold contrasts that make your subject pop.
- Harmony: Adjust the fill light to soften shadows, ensuring the scene feels balanced and cohesive.
- Mystery: Play with the back light to add intrigue, highlighting contours and adding dimension.
Experiment with these elements, and remember, the magic happens when you find the perfect balance that resonates with your audience.
Crafting Shadows Artfully
Shadows are more than just the absence of light; they’re powerful tools for storytelling in toy photography. By adjusting the intensity and direction of your light sources, you can create shadows that add depth and intrigue to your scenes. Start by positioning your key light to cast shadows in a way that complements your subject’s pose and expression. Experiment with different angles to see how shadows change the mood and dynamics of the scene.
Don’t shy away from adjusting the intensity of your light. A softer light will produce gentle, subtle shadows, while a harsher light can create dramatic, stark contrasts. Use reflectors or additional lights to control shadow harshness. Remember, every shadow tells a story, so play around and see how they enhance your toy photography narrative.
Enhancing Scene Mood
When you manipulate the intensity and direction of your lighting, you can greatly alter the mood of your toy photography scenes. By adjusting these elements, you can evoke powerful emotions and create an engaging narrative. Want to convey an uplifting or magical atmosphere? Soften your lights and spread them evenly. To create a sense of mystery or suspense, increase the contrast with harsher, angled lighting.
Consider these creative effects:
- Warmth and comfort: Use soft, warm lights to wrap your scene in coziness.
- Tension and drama: Direct a spotlight to cast sharp shadows, adding depth and intrigue.
- Mystique and wonder: Employ backlighting to silhouette figures, creating an ethereal glow.
Experiment with these techniques to transform your scenes and captivate your audience’s imagination.
Common Mistakes and How to Avoid Them
While setting up your toy photography scene, it’s easy to overlook some common lighting mistakes that can be detrimental to the final image. One frequent issue is overexposure, where lights are too bright, washing out details. Avoid this by adjusting your lights’ intensity and checking your camera settings. Another common mistake is harsh shadows. You can soften these by using diffusers or positioning your fill light to gently illuminate shadowed areas. Don’t forget about color balance; mismatched light temperatures can create an unnatural look. Make certain all your lights have the same color temperature for consistency. Finally, watch for reflections, especially in glossy toys. Alter the lighting angle or use polarizing filters to minimize unwanted glare. By being mindful, you’ll enhance your final images.
Enhancing Your Toy Photography With Post-Processing
Post-processing plays an essential role in elevating your toy photography from good to exceptional. It allows you to refine and enhance your images, bringing out the colors, contrast, and details that make your scenes enchanting. By taking the time to edit your photos, you can transform them into pieces of art that truly reflect your creative vision.
Here are a few emotional benefits of post-processing your toy photos:
- Unleash Creativity: Experiment with different filters and effects to create unique, eye-catching images.
- Capture Emotion: Adjust lighting and shadows to evoke the right mood and atmosphere in each scene.
- Storytelling: Use editing tools to highlight key elements, guiding the viewer’s eye and enhancing the narrative.
Embrace post-processing to make your toy photography stand out!
Frequently Asked Questions
How Can I Achieve a Specific Mood or Atmosphere With Toy Photography Lighting?
To achieve a specific mood or atmosphere, adjust light intensity and color temperature. Use gels for colored lighting effects. Position lights creatively to cast dynamic shadows, enhancing the scene’s emotion and storytelling. Experiment with angles for unique results.
What Are Some Budget-Friendly Alternatives for Professional Lighting Equipment?
When the sun kisses the horizon, grab inexpensive clip lamps or fairy lights to create magic. Use household items like white sheets for diffusion. You don’t need pricey gear to light up your creative world brilliantly.
How Do Different Colored Lights Affect the Overall Toy Scene?
You can use different colored lights to create mood and emphasize toy features. Warm colors evoke coziness, while cool tones add mystery. Experimenting with colors will transform your scene, making it more dynamic and visually appealing.
Can Natural Sunlight Be Incorporated Into Three-Point Lighting?
Absolutely, you can incorporate natural sunlight into three-point lighting. Use sunlight as your key light, then fill shadows with a reflector or softbox, and create depth with a backlight or additional natural light source for stunning results.
What Is the Best Way to Transport Lighting Equipment for On-Location Shoots?
To transport lighting equipment for on-location shoots, you should use padded bags or cases. Secure everything with straps and guarantee it’s organized. Don’t forget to label your gear for easy identification and quick setup on-site.
At a Glance
By embracing three-point lighting, you’re not just illuminating your toy scenes; you’re breathing life into them. Your key light will be your star performer, while the fill light smooths out any rough edges, and the back light adds a touch of magic. Choose your tools wisely, position them with care, and tweak for artistic flair. Avoid little hiccups, and with a sprinkle of post-processing, your toy photography will truly shine, capturing imaginations far and wide.


