Master toy photography by choosing a versatile DSLR or mirrorless camera with interchangeable lenses. Immerse yourself in manual mode to control shutter speed and ISO, ensuring perfect lighting. Experiment with aperture to create stunning depth of field effects. Capture motion creatively with varied shutter speeds, while balancing ISO for sharp, detailed images. Use white balance to showcase true-to-life colors. Enhance compositions with selective focus and thoughtful backdrops. Continue exploring for deeper insights into capturing your toys' vibrant details.
Choose the Right Camera and Lens
When starting out in toy photography, selecting the right camera and lens can make all the difference. You don't need the most expensive gear to capture stunning shots. A DSLR or mirrorless camera with interchangeable lenses offers flexibility and quality. Choose a macro lens for close-ups, revealing intricate toy details. A 50mm lens is versatile, providing sharp images and a pleasing background blur. Consider a wide-angle lens for group shots or expansive scenes. Prioritize a camera with good low-light performance to achieve clear images indoors. Remember, it's not just about the equipment; it's how you use it. Test different lenses and understand their effects on your shots. This experimentation helps you discover your style and elevate your toy photography.
Master Your Camera's Manual Mode
Delving into your camera's manual mode can reveal a new level of creativity in toy photography. By taking control of settings like shutter speed, ISO, and white balance, you'll transform simple shots into dynamic scenes. Start by experimenting with shutter speed to capture motion, or freeze a toy mid-action. Adjust ISO to manage lighting conditions, keeping noise to a minimum. A lower ISO works wonders in bright environments, while higher settings suit low light. Don't forget white balance; it guarantees true-to-life colors, making your toys pop. Practice makes perfect, so keep experimenting. Manual mode may seem intimidating at first, but it's key to accessing your creative vision. Take your time, be patient, and watch your toy photography evolve.
Optimize Aperture for Depth of Field

Even though mastering aperture might initially appear challenging, it's essential for achieving stunning depth of field in toy photography. To create enchanting images, you'll want to adjust your aperture settings thoughtfully. A wider aperture (like f/2.8) results in a shallower depth of field, which beautifully blurs the background and makes your toy subject pop. This can be perfect for isolating a figure and highlighting its details.
Conversely, a smaller aperture (like f/16) increases depth of field, keeping more of the scene in focus. This setting works well when you want to capture detailed surroundings or multiple figures clearly. Experiment with different apertures to find the right balance for each scene. Remember, controlling depth of field transforms a simple snapshot into a true artistic composition.
Adjust Shutter Speed for Motion Control
In toy photography, adjusting shutter speed is essential for capturing dynamic action shots. You'll want a fast shutter speed to freeze fast-moving subjects and a slower one to create intriguing motion blur effects. Experimenting with these settings can transform your toy photos from static to lively and engaging.
Capture Dynamic Action Shots
When capturing dynamic action shots in toy photography, mastering shutter speed is essential for controlling motion. A faster shutter speed helps you freeze the action, making it perfect for capturing toys in mid-leap or seeming to fly through the air. Experiment with different speeds to find what best suits your scene. Start around 1/500th of a second and adjust from there depending on the effect you want.
For added dynamism, consider using a tripod to stabilize your camera while experimenting with panning. As you move the camera with the action, it creates a sense of speed and direction. Don't forget to make sure your lighting is ample since faster shutter speeds reduce the light entering the camera. With practice, you'll make your toy scenes burst with life.
Freeze Fast-Moving Subjects
To freeze fast-moving subjects in toy photography, understanding and adjusting your shutter speed is key. When capturing toys in action, like a toy car mid-race or a superhero leaping, you’ll want to prevent any unwanted blur. Set your camera to a fast shutter speed—1/500th of a second or faster usually works best. This setting allows you to capture crisp, clear images of your toys in motion. Remember, the faster the shutter speed, the less light enters your camera. Compensate by adjusting your aperture or ISO to maintain proper exposure. Practice with different speeds to find what works best for your scene. Don’t be afraid to experiment; mastering this technique will elevate your toy photography game considerably. Additionally, consider the lighting conditions of your shooting environment as they can greatly impact your settings. When creating vibrant and dynamic shots, remember to also explore the best camera settings for photography that will enhance the overall quality of your images. By fine-tuning your exposure, focus, and composition, you’ll be well on your way to crafting stunning toy photographs that truly capture the essence of your imaginative scenes.
Create Motion Blur Effects
While freezing fast-moving subjects captures sharp action, sometimes you might want to convey a sense of speed and dynamism through motion blur. To achieve this, adjust your camera's shutter speed. A slower shutter speed allows more light and movement to enter, creating that desired blur. Start by setting your shutter speed between 1/15 to 1/60 seconds, depending on the effect you're after.
Keep your camera steady by using a tripod to avoid unwanted blur in the background. You can pan the camera along with the moving toy to emphasize motion while keeping the subject relatively sharp. Experiment with different speeds and movements. Remember, practice makes perfect. With a bit of patience, you'll master the art of motion blur in toy photography.
Utilize ISO Settings for Proper Exposure
Achieving the perfect exposure in toy photography often hinges on the effective use of ISO settings. ISO controls your camera's sensitivity to light, impacting the brightness of your photos. When shooting in low light, increase the ISO to brighten your image without needing a longer exposure, which can cause blur. However, be cautious; higher ISO levels introduce noise, which can reduce image quality.
Start with the lowest ISO setting your camera allows, usually ISO 100 or 200, for crisp, clear photos. Gradually increase it only if necessary, paying attention to how the light affects your shot. Shoot in natural light whenever possible, as it lets you keep ISO low. Practice adjusting ISO to find the right balance, ensuring your toy photos are sharp and well-exposed.
Set White Balance for Accurate Colors

Balancing ISO settings is just one piece of the puzzle in toy photography; capturing accurate colors is equally important. To achieve this, you need to set your camera's white balance correctly. The white balance setting adjusts the color temperature, ensuring your toys' colors appear natural under different lighting conditions. Start by identifying the light source—natural daylight, tungsten, or fluorescent—and choose the corresponding white balance preset on your camera. If you're shooting in mixed lighting, consider using a custom white balance. Capture a photo of something neutral, like a white sheet of paper, and let your camera adjust accordingly. Remember, getting the white balance right in-camera saves time on post-processing. Accurate colors make your toy photos pop and look professional.
Experiment With Focus Techniques
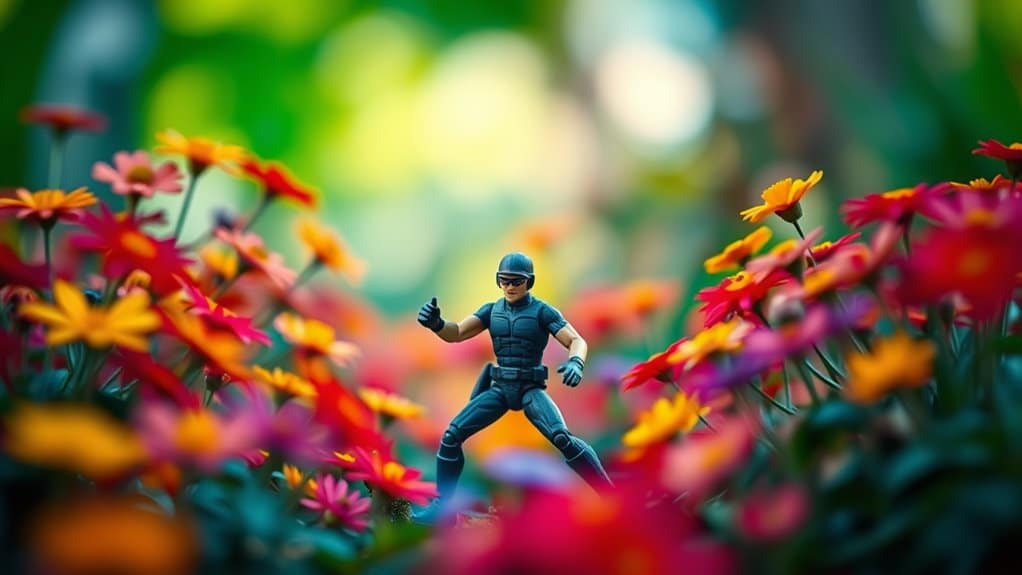
Experimenting with focus techniques can transform your toy photography by adding depth and interest. Try playing with depth of field to blur backgrounds and make your subject pop. Selective focus techniques can also emphasize specific details, drawing the viewer's eye exactly where you want it.
Depth of Field
How can you elevate your toy photography to the next level? Mastering depth of field is a great way to start. By adjusting the aperture on your camera, you control what parts of your image are in focus. A wide aperture (like f/2.8) creates a shallow depth of field, making your toy the focal point while blurring the background. This technique adds a professional touch by isolating your subject and drawing the viewer's eye directly to it. On the other hand, a narrow aperture (such as f/16) can keep everything in sharp focus, ideal for scenes where you want detail throughout. Experiment with different apertures to see how they affect your shots and find the style that best showcases your toys.
Selective Focus Techniques
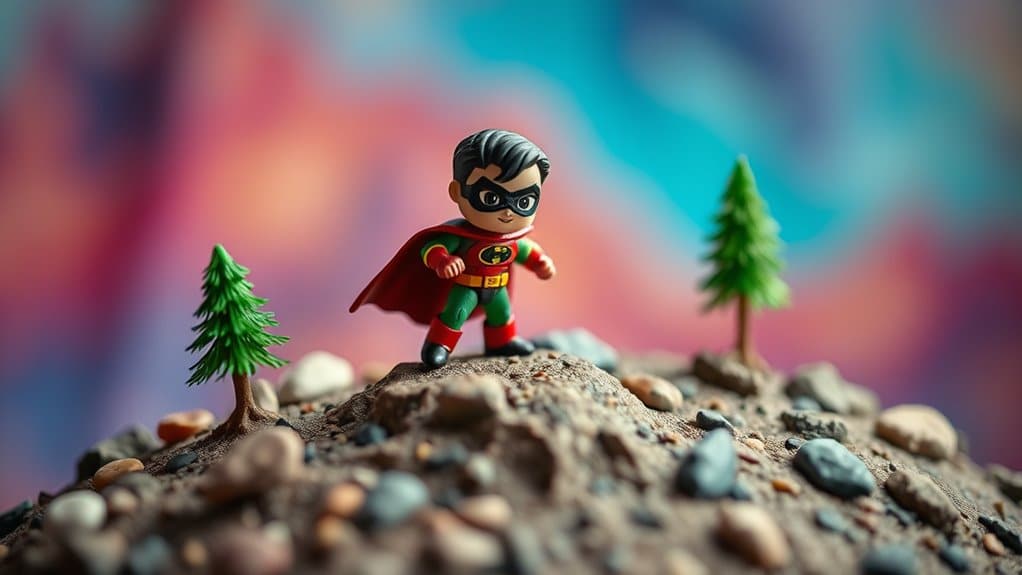
When it comes to toy photography, playing with selective focus techniques can truly transform your images. By drawing attention to specific areas, you'll guide viewers directly to the story you're telling. Start by using a wide aperture, like f/2.8 or f/4, on your camera or smartphone to blur backgrounds and isolate your subject. This creates a dreamy, professional look that makes your toys pop against any background. Don't hesitate to experiment with manual focus settings, allowing you to precisely control which part of the toy is sharp and which parts fade into a gentle blur. Remember, selective focus isn't just about blurring—it's about directing attention. With practice, you'll master this technique and elevate your toy photography to new artistic heights.
Frequently Asked Questions
How Can I Create Realistic Backgrounds for Toy Photography?
Start by choosing a suitable backdrop that complements your toy. Use natural elements, printed backgrounds, or digital editing to enhance realism. Consider lighting and perspective to blend the toy seamlessly into the scene, creating a convincing environment.
What Lighting Techniques Are Best for Indoor Toy Photography?
You'll want to use soft, diffused lighting to eliminate harsh shadows. Experiment with natural light from windows or use a lightbox. Reflectors can help bounce light and enhance details, making your toy photography look professional.
How Do I Avoid Reflections on Shiny Toy Surfaces?
You've just captured the perfect shot, but wait—there's an unwanted glare! To avoid reflections, try diffusing your light source or adjusting the angle. A polarizing filter can also work wonders, taming those pesky shiny surfaces.
What Props Can Enhance Toy Photography Scenes?
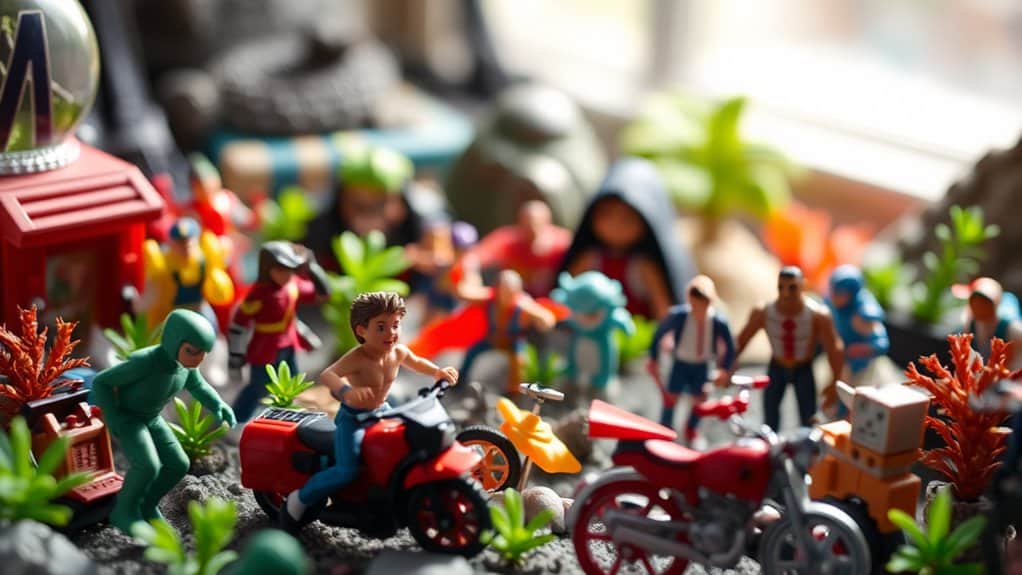
Use miniature furniture, plants, and fabric backdrops to enhance your toy photography scenes. They add depth and realism. Get creative with everyday items like cotton for clouds or sand for a beach scene. Experiment and have fun!
How Can I Capture Action Shots With Toy Figures?
When you're freezing time with toy figures, use dynamic poses and angles for drama. Get creative with lighting to cast shadows, and employ fishing line or stands to simulate movement. Your shots will burst with life and energy.
At a Glance
You've now revealed the secrets to toy photography mastery! With your camera in hand, you're not just capturing toys—you're capturing the essence of a miniature world. You've tamed the wild beast of manual mode, danced with shutter speeds, and performed magic with aperture. Your ISO settings are now your secret weapon, and your focus techniques are legendary. So go forth, create epic tales, and let every tiny detail leap from your photos with jaw-dropping clarity!


