To master toy photography with focus stacking, start by using a reliable camera, a macro lens, and a sturdy tripod. Equip your workspace with good lighting and take multiple shots with different focus points, starting from the nearest. Use editing software to align and blend images, capturing intricate details of your toy subjects. Experiment with lighting and props for added drama. With these steps, you’re on your way to creating stunning images with precision in detail. Discover more tips ahead.
Understanding Focus Stacking and Its Benefits
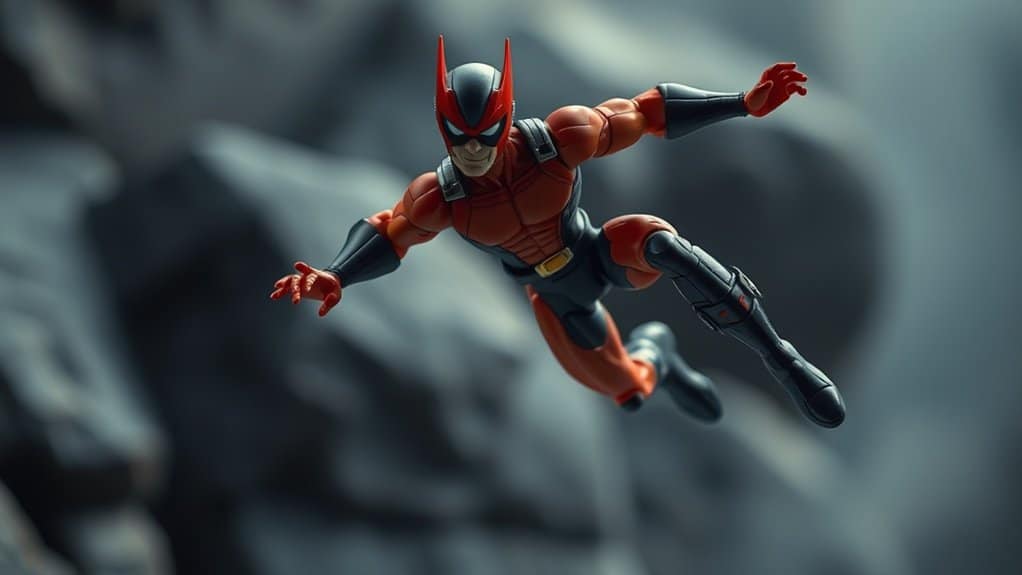
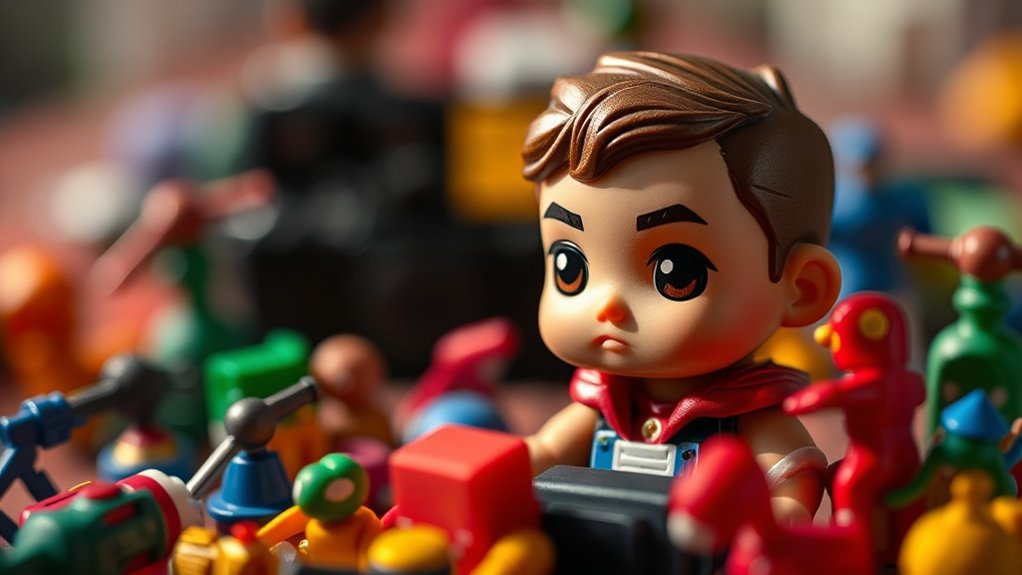
When you’re diving into toy photography, understanding focus stacking can greatly enhance your images. By using focus stacking, you capture multiple shots of the same scene, each with a different focus point. You then merge these images to create one photograph with sharp focus throughout. This technique is particularly beneficial in toy photography because it allows you to showcase the intricate details of your subjects, ensuring every tiny feature is clear and vivid.
You’ll find that focus stacking brings depth and realism to your toy figures, making them appear more lifelike. It also helps you overcome the limitations of shallow depth of field, which is common in close-up photography. Mastering this technique will elevate your toy photography, capturing every detail with precision.
Essential Equipment for Focus Stacking
To successfully execute focus stacking in toy photography, you need the right equipment to guarantee sharp and precise images. Start with a reliable camera that offers manual focusing capabilities and a macro lens to capture intricate details of your toy figures. A sturdy tripod is vital to maintain consistent framing and reduce any camera shake. You’ll also want a remote shutter release or a camera with a timer function to eliminate vibrations during shots. Make sure your workspace is well-lit; consider using LED lights or a lightbox for even illumination. Finally, a computer with focus stacking software, like Adobe Photoshop or Helicon Focus, is essential for blending your shots seamlessly. With these tools, you’re set to create stunning, detailed images.
Step-by-Step Guide to Capturing Images for Stacking

Now that you’re equipped with the necessary tools for focus stacking, let’s walk through the process of capturing images. First, set up your toy figure and camera on a stable surface, such as a tripod. Make certain your lighting is consistent to avoid any shadows or glare. Using your camera’s manual focus mode, start by focusing on the nearest part of your subject. Take a shot. Then, adjust the focus slightly further back and capture the next image. Repeat this process, moving the focus point further each time until you’ve covered the entire depth of field you want in focus. Remember to keep your camera settings consistent for every shot to guarantee uniform exposure and color. This steady approach guarantees clear, stackable images.
Post-Processing Techniques for Focus Stacked Images
Although capturing the perfect set of images is essential, true magic happens during post-processing. This phase transforms your stacked images into a cohesive masterpiece. Start by importing your photos into your preferred editing software. Use the auto-align feature to guarantee each image aligns perfectly, minimizing any shifts. Next, blend the images together, focusing on merging the sharpest parts from each photo. This combination will highlight every tiny detail of your toy figures.
Once you’ve stacked the images, adjust exposure, contrast, and colors to enhance the overall look. Pay attention to shadows and highlights, ensuring they add depth without overpowering the image. Finally, clean up any blemishes or distractions. With these techniques, you’ll create a stunning, seamless image that elevates your toy photography.
Tips and Tricks for Stunning Toy Photography
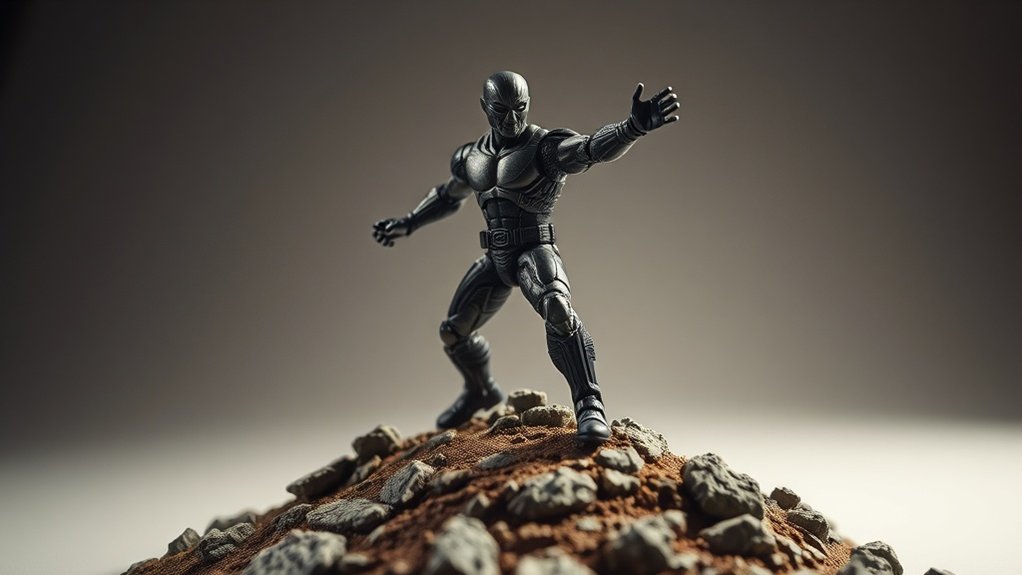
Capturing stunning toy photography requires a mix of creativity and technical skill. First, experiment with lighting to create dramatic effects. Use natural light or a simple desk lamp to highlight details. Adjust angles to add depth and dimension, turning ordinary shots into dynamic scenes.
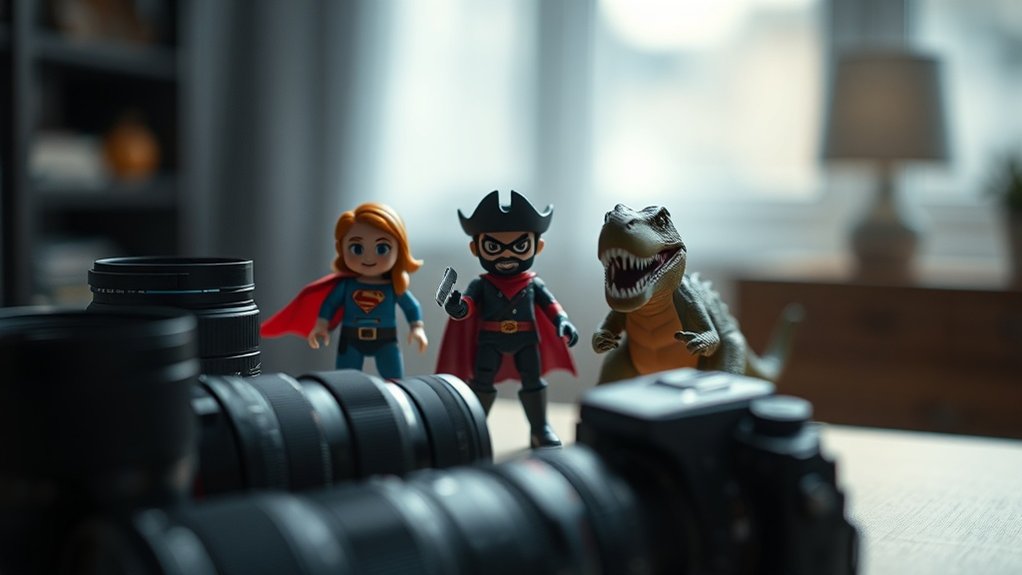
Next, pay attention to your background. A clutter-free, contrasting background guarantees your toy stands out. You can use colored paper or fabric for a simple, effective backdrop.
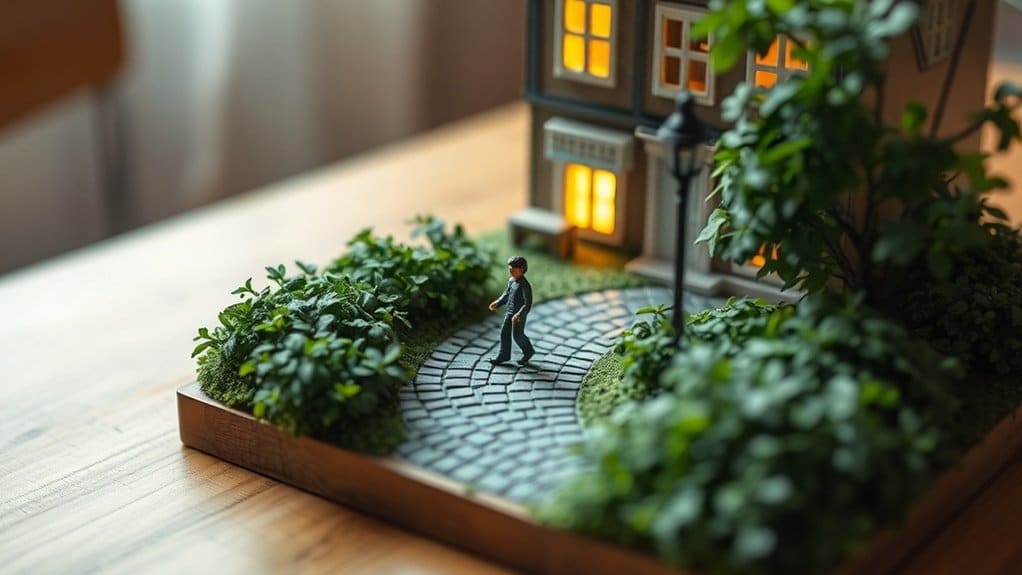
Additionally, consider the scale of your figures. Incorporate props to enhance realism and tell a story. Small plants, sand, or even household items can transform your setup.
Finally, practice patience and precision. Take multiple shots from various angles and tweak settings until you achieve that perfect capture. Your creativity shines through persistence.
Frequently Asked Questions
Can Focus Stacking Be Done With Smartphone Cameras?
Yes, you can do focus stacking with smartphone cameras. Use apps designed for focus stacking. They let you capture multiple shots at varying focus points, then combine them for a sharp image throughout. It’s simpler than it sounds!
What Are the Best Settings for Indoor Toy Photography?
You’ll want to set your camera to a low ISO, around 100-200, to minimize noise. Use a small aperture, like f/8 or f/11, for greater depth of field. Adjust shutter speed for proper exposure.
How Do You Prevent Toy Figures From Falling During a Shoot?
Securing toy figures is like balancing a delicate dance. Use sticky tack or clay to anchor them. Position them carefully, and if they’re top-heavy, distribute weight evenly. A little patience helps guarantee they stay put during your shoot.
Are There Any Free Focus Stacking Software Options Available?
You can use free software like CombineZP or Picolay for focus stacking. They offer great features without costing anything. Just download, install, and start blending your images effortlessly for sharper, more detailed results in your photography.
How Do I Achieve Realistic Lighting for Toy Figures?
Oh, achieving realistic lighting? Easy—just balance the sun, moon, and stars inside your room. Seriously, try using soft diffused light, reflectors, and adjustable lamps to mimic natural shadows. Experiment and watch your figures come to life.
At a Glance
As you peer through your camera’s lens, toy figures come alive, each detail sharp and vibrant. With focus stacking, you’ve opened a world where every tiny feature captivates, drawing viewers into miniature domains. Imagine this: the moment you merge those meticulously captured layers, magic unfolds. Will your audience see a toy or a universe? You’ve got the tools and the tricks—dare to craft scenes that blur the line between imagination and reality. What’s your next masterpiece?