To master toy photography on the go, choose a DSLR or mirrorless camera for adaptability, with a lightweight macro lens for detailed shots. Pack small LED panels and portable reflectors for effortless lighting adjustments. Use versatile backgrounds, favorite props like rocks, and compact, multi-purpose storage solutions to maximize space. Protect your gear with weather-resistant bags and microfiber wraps. Embrace natural light creatively, and discover how to perfectly organize your kit and make every shot count.
Choosing the Right Camera for Toy Photography
When diving into toy photography, choosing the right camera can be vital to achieving the results you want. You’ll want to reflect on a DSLR or mirrorless camera for greater control over settings and interchangeable lenses. These options give you the versatility needed to capture stunning details and vibrant colors in your toy scenes. Compact cameras can work if you’re seeking portability, but they might limit creative flexibility.
Think about your budget and experience level. A higher-end camera offers advanced features, but it’s important to choose a model you’re comfortable with. Don’t overlook the significance of the camera’s sensor size—larger sensors usually yield better image quality. Ultimately, the best camera is one that meets your needs and inspires creativity on your photographic journey.
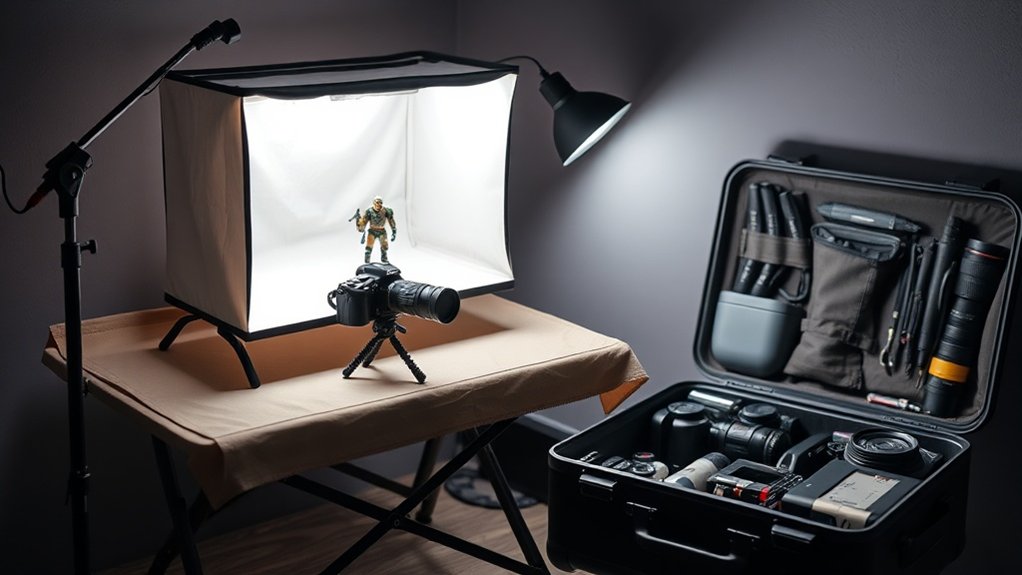
Essential Lighting Equipment for On-the-Go Shoots
Lighting plays an essential role in toy photography, and having the right equipment can elevate your on-the-go shoots. When traveling, portability is key, so consider compact, lightweight options that won’t weigh you down. A small LED panel is a great choice as it provides consistent lighting and can be easily adjusted for different effects. Look for models with adjustable brightness and color temperature to match various shooting conditions.
A portable reflector is another must-have. It’s versatile, allowing you to manipulate natural light to create balanced scenes. Opt for a collapsible reflector that fits neatly in your bag. Additionally, don’t overlook the power of a mini tripod with a flexible arm, letting you position your lights precisely without hassle. With these tools, you’re ready for any lighting challenge.
Selecting Versatile Backgrounds and Props

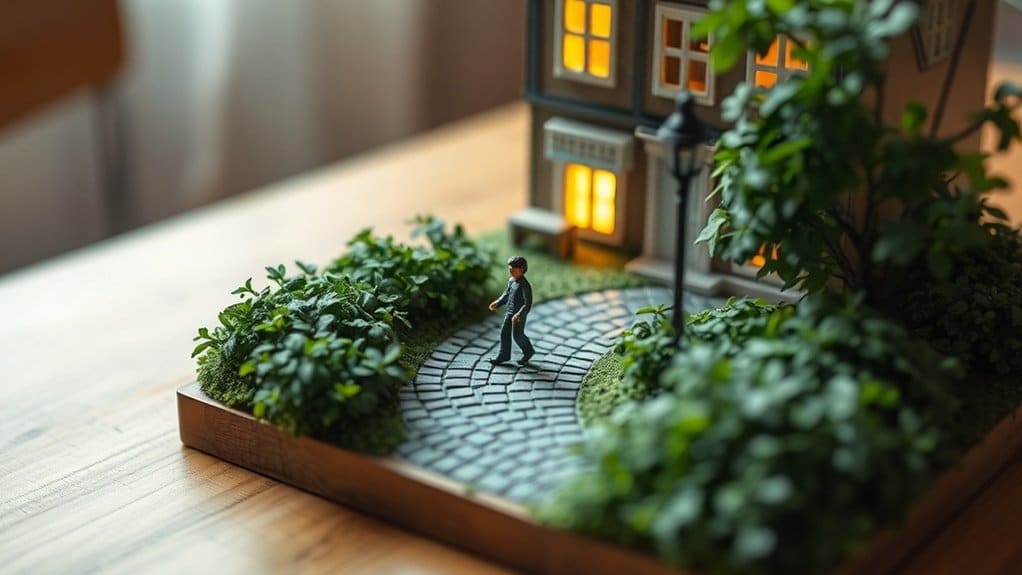
While capturing the perfect shot, choosing the right backgrounds and props can transform your toy photography. Start by selecting backgrounds that are lightweight and easy to transport, like foldable fabric or sturdy cardstock. Opt for neutral or natural tones that complement various toy themes. Versatile props, like small rocks, twigs, or miniature furniture, can add depth and context without overpowering your subjects. Think about the story you want to tell and select items that enhance the narrative. When packing, consider multi-use props that can adapt to different settings. Keep your setup minimal yet effective, ensuring it remains portable. Experiment with different combinations and remember, sometimes less is more. Your creativity can make even the simplest setups come alive.
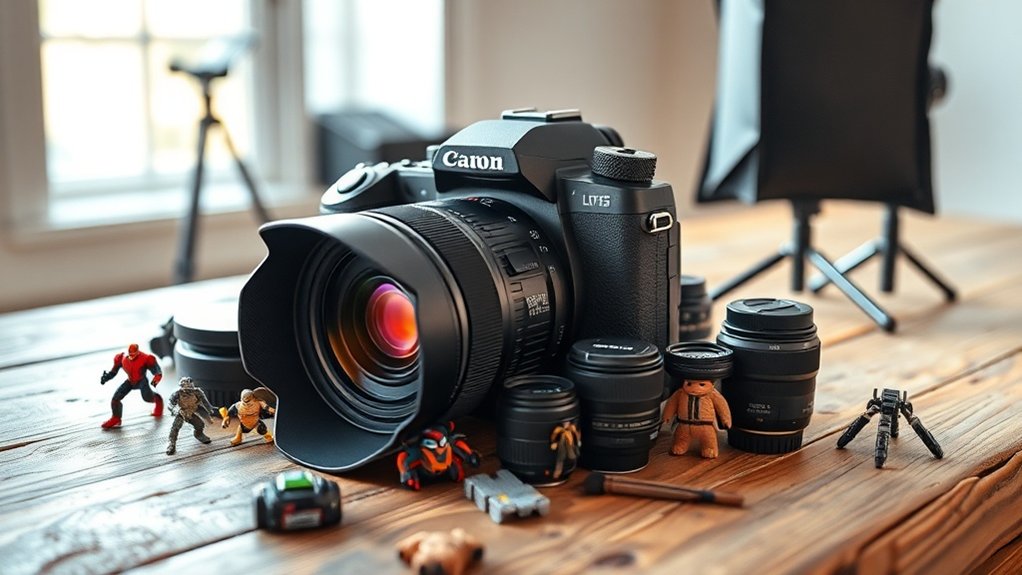
Packing the Perfect Lens for Close-Ups
When it comes to capturing the intricate details of toy photography, packing a macro lens is essential. You’ll want to contemplate lightweight options that won’t weigh you down during shoots. With the right lens, you’ll be able to focus on those close-ups that bring your miniature subjects to life.
Choosing Macro Lens Options
Capturing the intricate details of toy photography requires a keen eye and the right equipment, particularly when it comes to selecting a macro lens. You’ll want a lens that allows you to get up close and personal, highlighting every miniature feature with precision. Consider lenses with a focal length of 60mm to 100mm—they’re versatile and ideal for capturing fine details without distorting your subject. Look for options with a fast aperture, such as f/2.8, to guarantee sharp images even in less-than-ideal lighting conditions. Image stabilization can be beneficial, especially if you’re shooting handheld. Also, check compatibility with your camera body to avoid any surprises. By choosing the right macro lens, you can elevate your toy photography to a professional level.
Lightweight Lens Considerations
For toy photography, a lightweight lens can make a world of difference, especially when you’re on the move or shooting for extended periods. Packing a lens that’s compact yet powerful allows you to capture those intricate details without weighing yourself down. A prime lens with a fixed focal length, like a 50mm, strikes a perfect balance between portability and performance. It’s sharp, versatile, and great for close-ups, ensuring your toys look vivid and detailed.
Consider lenses with a wide aperture, such as f/1.8, to achieve stunning background blur and better low-light performance. Look for lenses with optical stabilization if your camera body lacks it; this feature helps maintain sharp images, even in less-than-ideal conditions. Prioritize quality and convenience, and your travel kit will shine.
Portable Tripods and Stabilizers for Steady Shots
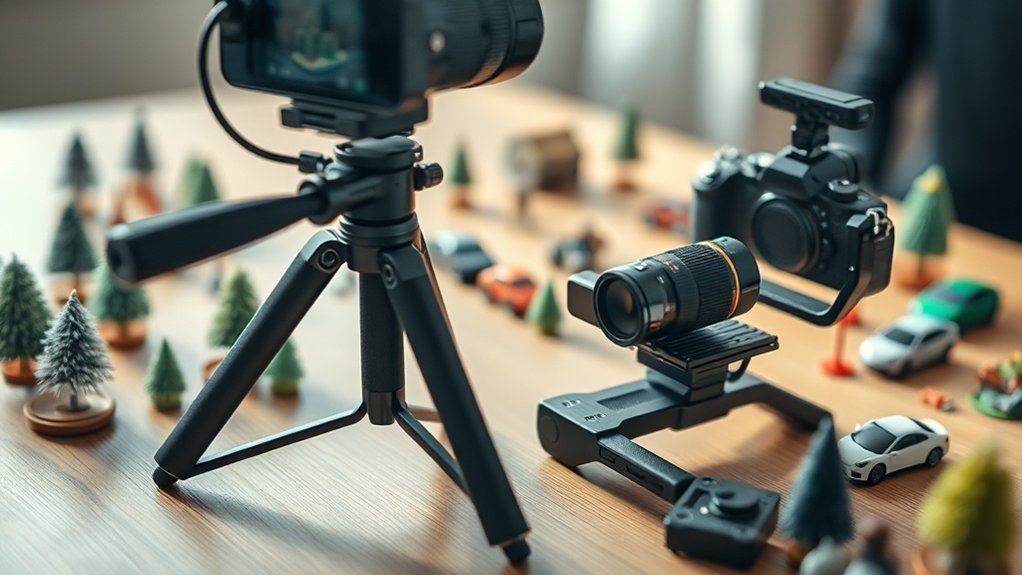
Achieving steady shots in toy photography often hinges on using the right portable tripods and stabilizers. You’ll want to invest in equipment that’s lightweight yet durable, ensuring easy transport without compromising stability. Consider a compact tripod with flexible legs, allowing you to position your camera at unique angles and on uneven surfaces.
Look for models with a ball head, which offers smooth adjustments and precise control over your composition. If you’re shooting on the move, consider a handheld stabilizer or gimbal for fluid motion and reduced shake. These tools are essential for capturing sharp images, especially in challenging environments. Remember, the goal is to keep your gear compact and versatile, so you can focus on creativity rather than logistics.
Crafting a Mobile Editing Station
While a steady shot is essential for great toy photography, equally important is having a reliable mobile editing station to polish your images on the go. Start by selecting a lightweight laptop or tablet with sufficient processing power and editing software like Adobe Lightroom or Photoshop. Make sure you’ve got enough storage with external SSDs or cloud services to manage your files efficiently. Next, invest in a good quality portable mouse for precision, and don’t forget headphones to focus on your work in noisy environments. Keep your devices charged with a compact power bank, ensuring you’re never stuck without power. Organize everything in a durable, padded case, making it easy to carry and access your editing tools whenever creativity strikes.
Tips for Protecting Your Gear While Traveling
When you’re on the road with your photography gear, safeguarding it from damage is crucial. Start by investing in a sturdy, weather-resistant camera bag. Look for adjustable compartments to keep your gear snug and secure. Wrap delicate items like lenses in microfiber cloths for extra protection. Always carry a rain cover for unexpected downpours. Use silica gel packs to keep moisture at bay, preventing lens fogging and mildew. When traveling by plane, keep your gear in your carry-on to avoid rough handling. For added security, label your equipment with your contact information. Finally, always back up your photos on a portable drive or cloud service, just in case. These steps guarantee your gear stays safe and ready for action.
Creative Ideas for Using Natural Light
Now that your gear is safe and sound, let’s explore how to harness the beauty of natural light in your toy photography. Start by shooting during the golden hours—shortly after sunrise or before sunset. The soft, warm light creates stunning shadows and highlights, enhancing your toys’ details. Position your toys near windows or open spaces where natural light floods in, but avoid direct sunlight to prevent harsh contrasts.
Try experimenting with light direction. Side lighting adds depth and texture, while backlighting creates dramatic silhouettes. Use a reflector—like a piece of white paper—to bounce light and fill in shadows. Don’t be afraid to move around and change angles to find the perfect composition. Embrace the spontaneity of natural light and let it guide your creativity.
Organizing Your Kit for Quick Access
To guarantee you’re always ready for the perfect shot, organizing your kit for quick access is essential. Start by categorizing your gear. Keep your camera body and primary lens in an easily reachable section of your bag. Use small pouches or ziplock bags to store accessories like memory cards, batteries, and lens cloths. Label these pouches for speedy identification. Arrange your items in layers, placing frequently used items on top. Velcro straps or elastic bands can help secure loose cables and prevent tangling. Consider a checklist to confirm nothing gets left behind. Practice packing and unpacking your bag to develop muscle memory. This organization not only saves time but also minimizes stress, allowing you to focus on capturing those magical toy moments.
Making the Most of Limited Space in Your Travel Bag
When packing your travel bag for toy photography, focus on compact equipment that doesn’t compromise on quality. Use efficient storage techniques like packing cubes or padded cases to maximize every inch of space. Consider multi-functional gear that serves multiple purposes, reducing the need for extra items.
Compact Equipment Choices
Packing for a toy photography adventure can be challenging, especially when you need to maximize every inch of your travel bag. Start by choosing a lightweight camera—mirrorless options are great for quality and portability. A versatile lens, like a 24-70mm, covers a range of shots without needing multiple lenses. Consider a compact tripod; tabletop versions save space and are easy to set up anywhere. Don’t forget a small LED light panel for consistent lighting, which can be vital for capturing those intricate toy details. A microfiber cloth is essential for keeping your gear clean. Choose a slim, padded bag to keep everything organized and protected. Prioritize multifunctional items to make the most of limited space, ensuring you’re ready for any creative opportunity.
Efficient Storage Techniques
Strategic packing transforms chaos into order, especially in the compact world of toy photography. Start by choosing a sturdy, lightweight bag with multiple compartments. Utilize packing cubes or small pouches to separate and organize different gear, like cameras, lenses, and toys. Roll your clothes tightly to maximize space and create padding for delicate items. Place heavier items at the bottom for balance and stability.
Keep frequently used accessories, like memory cards and batteries, in easy-to-reach pockets. Use every inch of space wisely; slide flat items, such as backdrop materials, along the sides of your bag. Consider using clear bags for tiny parts, so you can quickly spot them. With these techniques, you’ll keep your equipment safe and accessible, ready for your next toy photography adventure.
Multi-functional Gear Options
You know that packing smart is key when space is limited, especially in toy photography. Choosing multi-functional gear can save both space and hassle. Start with a compact tripod that doubles as a selfie stick. It’s versatile for various shooting angles and easy to pack. Look for collapsible reflectors that can serve as diffusers. They’re lightweight and perfect for controlling light on the go. Don’t forget a versatile camera with interchangeable lenses; it allows you to adapt quickly to different scenes without carrying multiple bodies. Consider a portable LED light with adjustable settings; it’s essential for capturing perfect shots in any lighting condition. Finally, pack a Swiss Army knife-style tool kit to handle minor repairs, keeping your setup ready for action.
Frequently Asked Questions
How to Ensure Toys Remain Undamaged During Travel?
You need to pack toys securely using padded cases or bubble wrap, ensuring they’re snug. Use compartmentalized storage to prevent shifting. Always carry them in your hand luggage, avoiding extreme temperatures or pressure changes during travel.
What Are the Best Travel Insurance Options for Photography Gear?
You should compare travel insurance providers like World Nomads or PPA. Check coverage for theft, loss, and accidental damage. Make sure the policy covers your gear’s full value to avoid unexpected costs during your travels.
How Do You Handle Customs With Expensive Photography Equipment?
When handling customs with expensive photography equipment, declare your items and carry receipts or a Carnet. This helps prove ownership and value. Familiarize yourself with local regulations to avoid surprises and guarantee a smooth process.
Can Toy Photography Be Monetized While Traveling?
Absolutely, you can monetize toy photography while traveling. Capture unique shots in various locations, sell prints online, or collaborate with brands for sponsored content. Use social media to showcase your work and attract potential clients.
What Are Some Unique Toy Photography Locations Worldwide?
Imagine capturing magic in Tokyo’s bustling streets or Iceland’s ethereal landscapes. You can shoot toys amidst the vibrant colors of India’s markets or Paris’s romantic alleys. Let your creativity roam free in these unique global locations.
At a Glance
You’ve got everything you need to capture stunning toy photos on the go. Remember, your camera and gear are your trusty companions, much like a Walkman in the ’80s, bringing joy and creativity wherever you wander. Keep your kit organized, protect your gear, and embrace natural light to add magic to your shots. With your portable setup, you’re ready to create enchanting stories, no matter where your travels take you. Happy shooting!