To create enchanting toy photography, shoot through objects for added depth. Use everyday items like glass or foliage to introduce layers, textures, and a sense of context. Select toys that fit your theme; choose transparent objects for subtle layers and natural elements for unique framing. Experiment with camera settings and compositions to enhance your scene. Playing with light, angles, and perspectives helps craft a stunning image, setting the stage for an amazing visual story.
Understanding the Basics of Shooting Through Objects
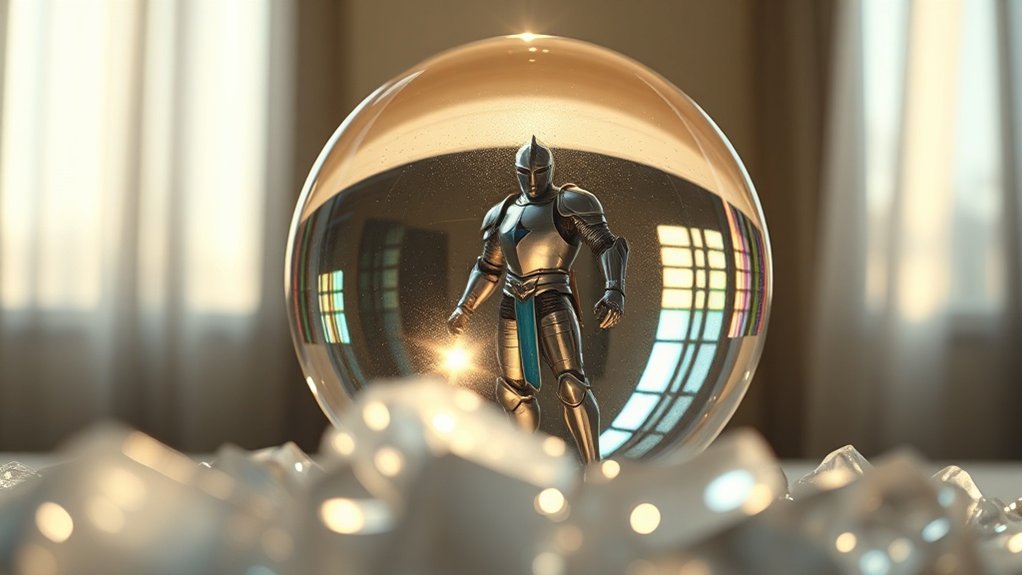
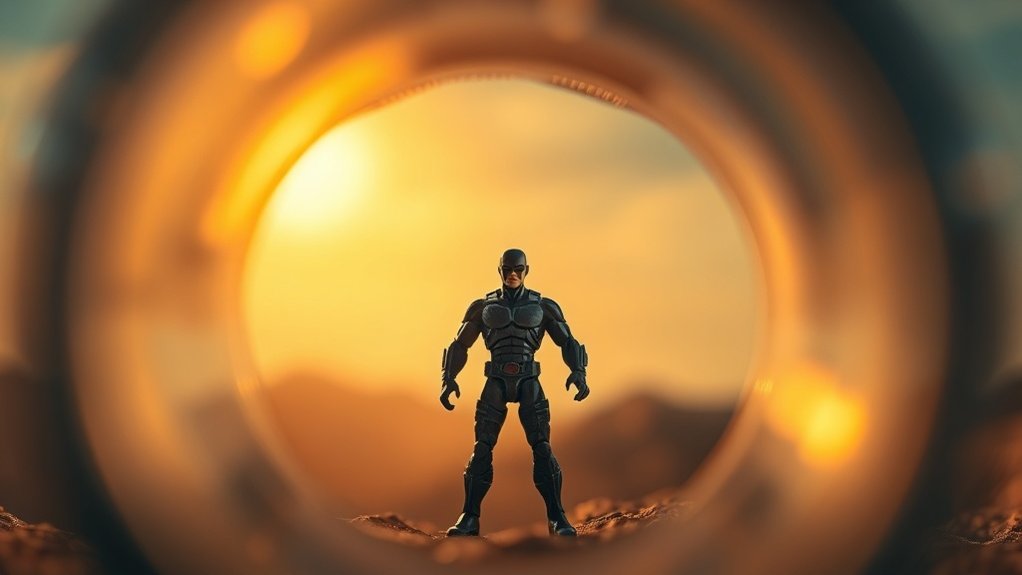
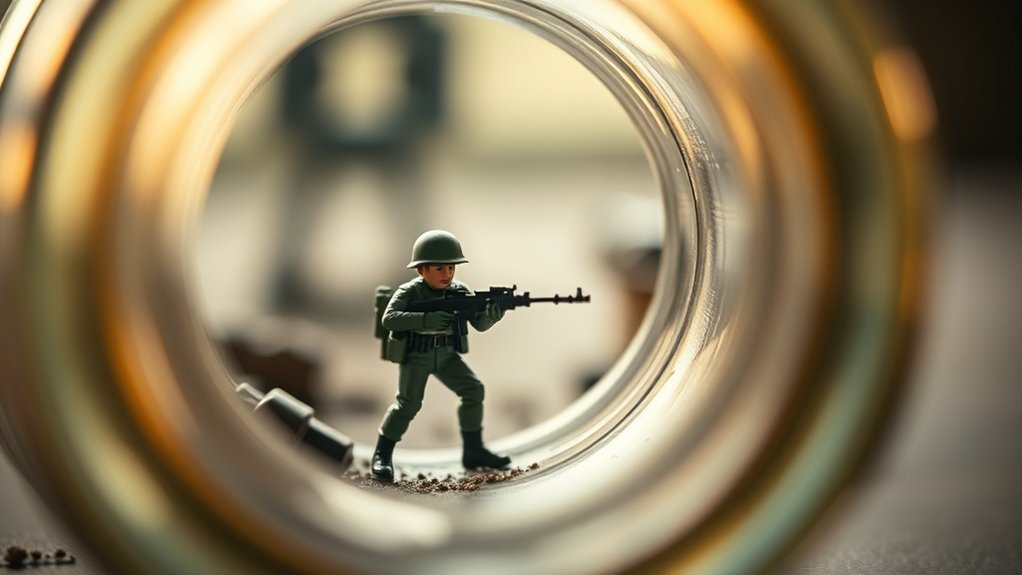
When you explore toy photography, shooting through objects can transform your images from ordinary to extraordinary. This technique adds depth and intrigue, drawing viewers into a miniature world filled with wonder. You might use everyday items like glass, foliage, or even netting to create layers and textures that enhance your composition. By positioning these elements between your camera and the toy, you’ll introduce a sense of scale and context.
Experiment with angles and distances to see how they affect the final image. You’ll notice how different materials bend light or add subtle color tints, changing the mood. Keep an eye on the background, ensuring it complements the scene without overpowering it. With practice, your photos will captivate and tell engaging stories.
Selecting the Right Toys and Objects
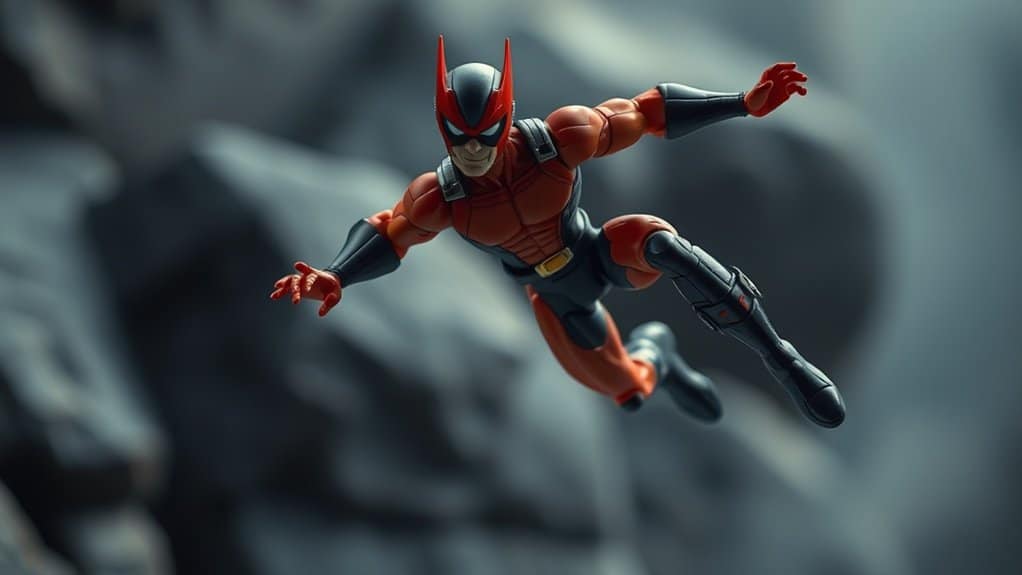
How do you choose the perfect toys and objects for your photography? Start by considering the story or theme you want to convey. Select toys that resonate with your narrative. If you’re aiming for an adventurous scene, action figures with dynamic poses work well. For a whimsical setup, opt for colorful, imaginative toys. The objects you shoot through should complement the scene. Transparent and translucent objects like glass or acrylic add interesting layers without overpowering the main subject. You might also use natural elements like leaves or branches to frame your toys creatively. Pay attention to the scale of both toys and objects to maintain a cohesive look. Experiment with different combinations to discover what best captures the mood you’re aiming for.
Choosing the Ideal Camera and Lens Settings
When you’re setting up for toy photography, picking the right camera and lens settings can make a huge difference. Start by choosing an ideal aperture to control the depth of field, which helps your toy stand out against a blurred background. Additionally, selecting the perfect focal length will allow you to capture your subject with the right perspective and detail.
Optimal Aperture Selection
Though often overlooked, choosing the right aperture is essential to capturing stunning toy photography. Start by understanding the effect aperture has on depth of field. A wide aperture (like f/2.8) creates a shallow depth of field, making your toy the focal point while beautifully blurring the background. This is perfect for isolating your subject and adding depth. However, if you want more elements in focus, a smaller aperture (like f/8 or f/11) is ideal. It lets you maintain clarity across various layers within the scene. Experiment with different apertures to see how they influence your images. Remember, lighting plays a vital role, so adjust the ISO or shutter speed to guarantee proper exposure as you tweak the aperture settings.
Ideal Focal Length
Selecting the ideal focal length is essential for achieving the desired perspective and composition in your toy photography. A 50mm lens is often a great starting point. It offers a natural look, similar to what the human eye perceives, providing a balanced field of view without distortion. For more dramatic effects, try a longer focal length like 85mm or 100mm. These can help isolate your subject and compress the background, creating a sense of depth. Alternatively, wider lenses like 24mm can add a dynamic touch, capturing more of the scene and enhancing the scale. Adjust your focal length based on the size of your toys and the story you want to tell. Experimenting with different lenses will help you find your unique style.
Composing Your Shot for Maximum Impact
Creating an enchanting toy photograph starts with a well-composed shot that draws the viewer in and tells a story. Begin by considering the scene’s balance. Place your toy subject off-center using the rule of thirds, which creates a dynamic composition. Make sure your background complements the toy, adding to the narrative without overshadowing it.
Think about how colors interact. Contrasting colors can make your subject pop, while harmonious tones can create a serene atmosphere. Use lines—like roads or walls—to guide the viewer’s eye towards the toy.
Don’t forget about lighting. Soft, natural light often works best, adding depth without harsh shadows. Finally, remove distractions from the frame. Every element should serve the story and enhance the viewer’s connection to the scene.
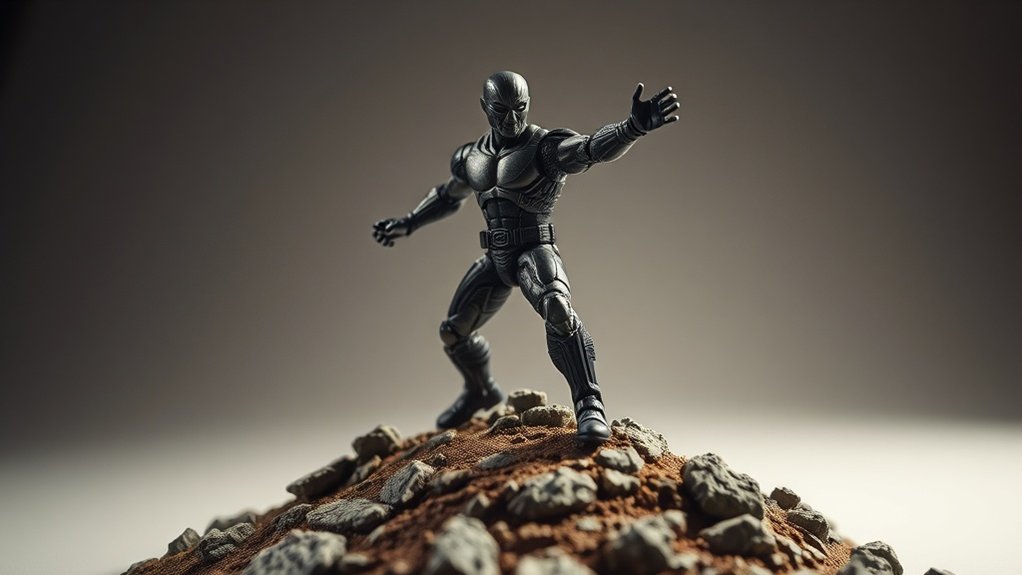
Experimenting With Different Perspectives
To make your toy photography stand out, try exploring creative angles and play with how you position your camera. By layering different elements, you can add depth and intrigue to your shots, making them more dynamic. Don’t hesitate to get low, high, or even tilt your camera to find that perfect perspective.
Creative Angles Exploration
Although many photographers stick to eye-level shots, experimenting with creative angles can elevate your toy photography to new heights. By exploring different perspectives, you can add a dynamic flair and make your images stand out. Start by getting low to the ground, giving a sense of grandeur to your toy subjects. Alternatively, try shooting from above for a bird’s-eye view that reveals new details. Side angles can add mystery, while tilted shots inject energy and movement. Use close-ups to highlight intricate features.
Here are some angles to experiment with:
- Low angle: Makes toys appear larger and more imposing.
- High angle: Offers a fresh overview of the scene.
- Side angle: Adds intrigue and depth.
- Tilted angle: Introduces dynamism.
- Close-up angle: Captures fine details.
Explore these angles to transform your toy photography.
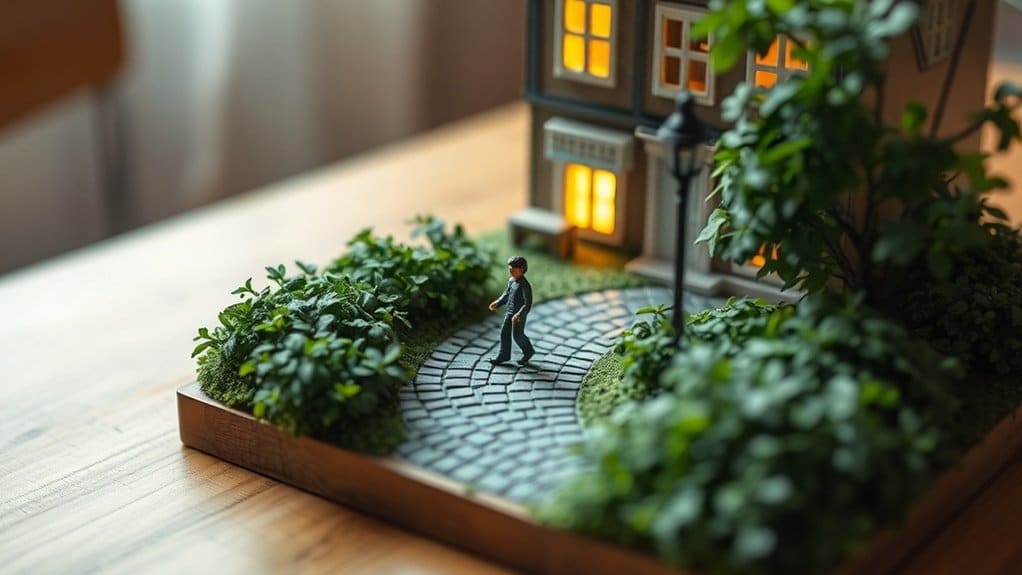
Depth Through Layering
Layering in toy photography can really bring your images to life by adding depth and a sense of dimensionality. To create this effect, experiment with placing objects at varying distances from your camera. Try positioning smaller elements in the foreground while keeping the main subject as the focal point. This technique draws the viewer’s eye through the scene, creating an immersive experience.
Don’t be afraid to play with angles. Crouch down or shoot from above to see how it changes the layers in your photo. By changing perspectives, you’ll find new ways to interpret the scene and add visual interest. Also, consider using natural elements like leaves or branches in the foreground to frame your subject, enhancing the depth and making your toys appear more dynamic and engaging.
Enhancing Depth With Lighting Techniques
While capturing the perfect toy photograph, understanding how to manipulate lighting can greatly enhance depth and bring your subjects to life. By strategically using lighting techniques, you can create striking images that grab attention. Here’s how you can enhance depth with lighting:
- Backlighting: Position a light source behind your subject to create a glowing outline, adding depth and interest.
- Side lighting: Illuminate the subject from one side to enhance textures and create shadows, giving dimension.
- Spotlighting: Focus light on a specific area to highlight details and create strong contrasts.
- Diffused lighting: Soften harsh shadows with diffused light for more natural-looking depth.
- Colored lighting: Use colored gels to add mood and separate the subject from the background, enhancing depth.
Experiment with these techniques to see how lighting transforms your toy photography!
Editing Tips to Elevate Your Photos
To truly bring your toy photography to life, editing is an essential step that can elevate your images from good to stunning. Start by adjusting the brightness and contrast to make your toys pop. Use color correction to guarantee the hues are vibrant and accurate, enhancing the overall mood. Don’t forget to sharpen details, especially if your photo features intricate elements.
Experiment with cropping to improve composition, eliminating distractions and focusing on the main subject. Try using a vignette to draw the viewer’s attention toward the center. Use software like Lightroom or Photoshop for more advanced adjustments like dodging and burning, which add dimension. Remember, subtle changes can make a big difference, so keep it simple and let your creativity shine through.
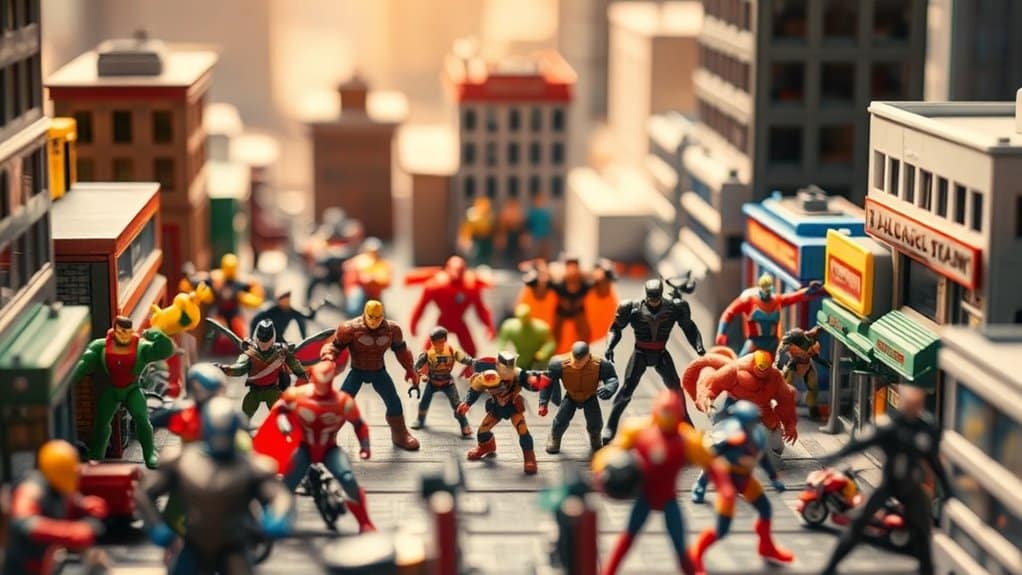
Inspiring Examples and Creative Ideas
Have you ever wondered how some toy photographers transform simple scenes into enchanting stories? It’s all about using creative ideas and inspiring examples to breathe life into your shots. Imagine photographing a tiny astronaut through a glass of water, creating a cosmic distortion effect. Try shooting a LEGO scene through leaves for a jungle adventure vibe. Here are some ideas to reflect upon:
- Experiment with reflections using mirrors or shiny surfaces.
- Use household items like a colander for unique light patterns.
- Create a sense of scale by placing toys among everyday objects.
- Incorporate colored gels over lights for mood enhancement.
- Capture toys in action by using fans for wind effects.
Let your imagination run wild and turn ordinary toys into extraordinary photos.
Frequently Asked Questions
How Do Weather Conditions Affect Toy Photography?
Weather conditions can dramatically impact your toy photography. Overcast skies offer soft lighting, reducing harsh shadows, while sunlight enhances colors and contrast. Rain adds mood and reflections, but you’ll need to protect your equipment. Embrace each condition’s uniqueness.
What Are Common Mistakes Beginners Make in Toy Photography?
You often overlook lighting, ignore backgrounds, or forget to tell a story with your toys. Don’t get stuck in a ’90s sitcom mindset; move around, experiment with angles, and always pay attention to details.
How Can Props Enhance the Storytelling in Toy Photography?
Props can transform your toy photography by adding context and enhancing the narrative. They create a dynamic scene, evoke emotions, and draw viewers into the story. Use them wisely to enrich the visual storytelling in your shots.
Are There Affordable Alternatives for Professional Equipment?
Oh, you mean you don’t have a money tree for all that high-end gear? Fear not! Use household items like lamps for lighting or your phone’s camera. Creativity trumps cost, and your bank account will thank you.
How Do I Maintain My Toys and Gear for Long-Term Use?
To maintain your toys and gear, regularly clean them with a soft cloth. Store them in a dust-free environment and avoid direct sunlight. Keep batteries separate to prevent leakage and check for any wear and tear periodically.
At a Glance
By shooting through objects, you can add incredible depth and dimension to your toy photography. Remember, 92% of viewers say that a striking composition keeps them engaged longer. So, experiment with different perspectives and lighting techniques to make your shots truly pop. Don’t forget, post-editing can elevate your photos to the next level. With practice and creativity, you’ll transform simple toys into enthralling stories that capture and hold your audience’s attention. Keep exploring and innovating!