Reveal the magic of toy photography with your iPhone by choosing realistic, poseable toys and setting the perfect scene with natural backdrops and props. Utilize your iPhone’s “Pro” mode to control exposure, and experiment with natural lighting for stunning effects. Enhance your compositions by trying different angles and perspectives, such as capturing from ground level or using reflections in water. Share your work on social media to engage with a passionate audience. Dive deeper for more secrets!
Choosing the Right Toys for Photography
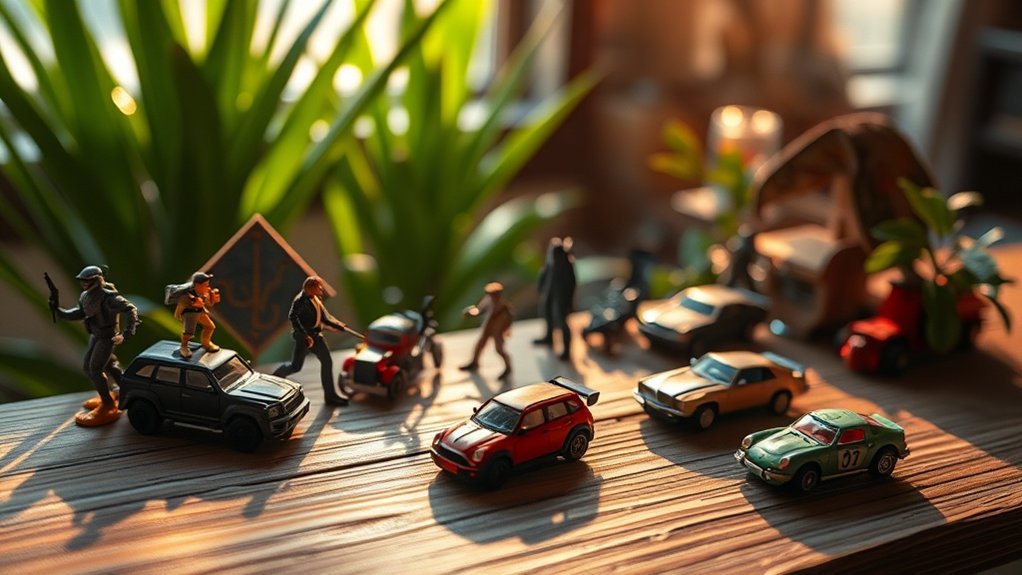
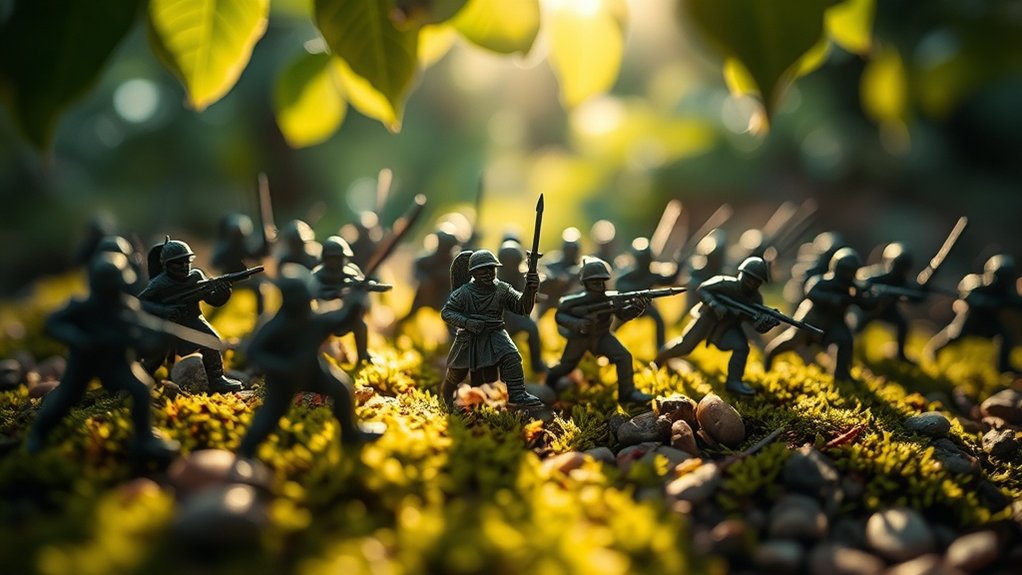
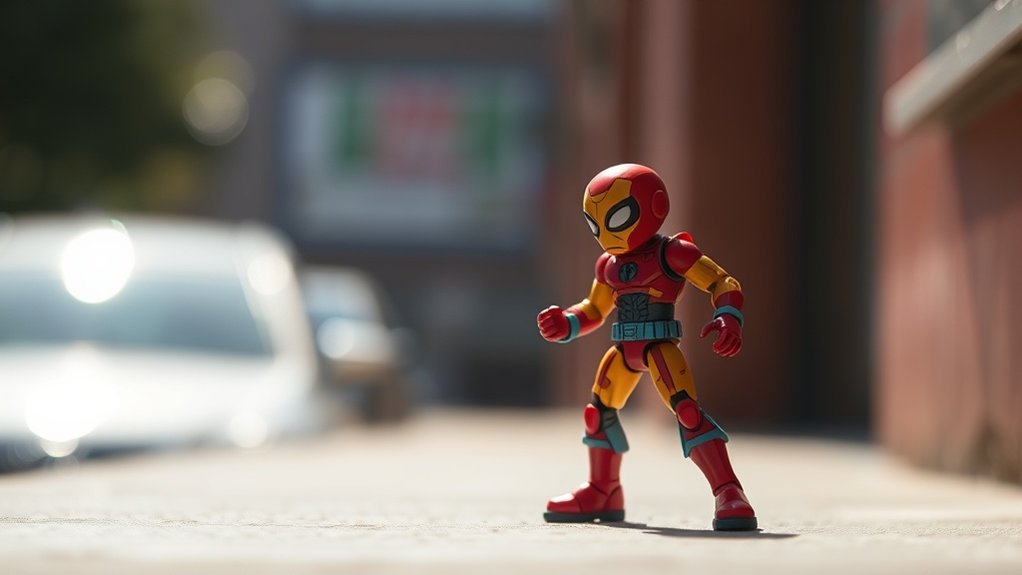
Selecting the perfect toys for photography can greatly enhance your creative process and final images. Start by considering the theme or story you want to convey. Choose toys that resonate with your vision, whether they’re action figures, dolls, or miniatures. Pay attention to the details, as well-crafted toys with realistic features can bring your photos to life. Think about the size and scale, ensuring they fit the scene you’re planning to create. Color is also essential; vibrant toys can add energy, while muted tones might evoke a different mood. Don’t overlook articulation and poseability, which allow for dynamic shots. Finally, mix and match different types to create interesting compositions and unique narratives in your toy photography journey.
Setting the Scene: Backgrounds and Props
While setting the scene for toy photography, backgrounds and props play an essential role in crafting an immersive visual story. You’re not just capturing a toy; you’re creating a world. To evoke emotion and make your photos stand out, consider these tips:
- Choose the right backdrop: Use fabric, paper, or natural settings to convey the mood. A simple sky-blue sheet can transform into a vast sky.
- Incorporate props: Everyday items like cotton balls for clouds or pebbles for boulders can enhance your scene’s realism.
- Play with scale: Use contrasting sizes to create a sense of grandeur or intimacy. A towering plant becomes a jungle.
- Lighting matters: Experiment with natural light and shadows to add depth and drama to your scene.
Mastering Iphone Camera Settings
Creating compelling toy photography scenes is only half the battle; how you capture them with your iPhone can make all the difference. First, switch to the iPhone’s “Pro” mode, if available. This gives you control over exposure, focus, and white balance. Adjust the exposure manually to guarantee your toys are well-lit without overexposing details. Use the focus lock feature by tapping and holding on your subject, assuring sharpness. Experiment with the HDR setting, especially when shooting scenes with varied lighting, to capture more detail. Turn off the flash to avoid harsh shadows and unnatural highlights. Instead, rely on natural light sources. Finally, don’t forget to enable the gridlines to help compose your shots and keep your horizon level.
Exploring Lighting Techniques
Lighting can transform your toy photography from ordinary to extraordinary. With your iPhone, you can create stunning effects that bring your toys to life. Here’s how to harness the power of light:
- Natural Light Magic: Use soft, diffused natural light for a magical glow. Morning or late afternoon light works wonders.
- DIY Lightbox: Craft a simple lightbox using white paper or fabric to eliminate shadows and highlight details.
- Dramatic Shadows: Position a small lamp to cast intriguing shadows, adding depth and drama.
- Reflections: Utilize mirrors or reflective surfaces to create enchanting reflections, adding layers to your shots.
Experiment with these techniques and watch your toy photos engage viewers, leaving them in awe of your creativity.
Experimenting With Angles and Perspectives

Try experimenting with unusual angles to give your toy photography a fresh twist. By playing with dynamic perspectives, you can make your subjects look larger than life or create a sense of movement. Don’t forget to explore depth of field to add layers and focus, bringing your toy scenes to life.
Unusual Angles Exploration
Ever wondered how a simple shift in perspective can transform your toy photography with an iPhone? Exploring unusual angles can breathe life into your shots, making them more engaging and dynamic. A slight tilt or a low angle can change an image’s entire mood. Here’s how to evoke emotion with your toy photography:
- Get low: Capture the toy’s world from ground level, making it appear larger-than-life.
- Shoot from above: Elevate your perspective for a bird’s-eye view, adding depth and intrigue.
- Tilt the angle: Experiment with diagonal compositions for energy and movement.
- Peek through objects: Frame your toy with natural surroundings for a sense of discovery.
Use these tips to elevate your shots and captivate your audience with every snap!
Dynamic Perspective Techniques
Building on the excitement of unusual angles, let’s explore dynamic perspective techniques to make your toy photography truly stand out. Start by getting down low or high up to create a sense of scale. This technique makes your toys appear larger than life or tiny in a vast world. Try shooting from a worm’s-eye view to give an epic feel or a bird’s-eye view for a unique vantage point.
Use leading lines in your environment, like roads or pathways, to draw the viewer’s eye to your subject. Tilt your iPhone slightly to add tension or movement. Move around your subject to find the most compelling angles. Don’t be afraid to experiment and break conventional rules. Your creativity will bring your toy photos to life!
Depth of Field Play
When you wield the power of depth of field in your toy photography, you can transform simple scenes into enchanting stories. By experimenting with angles and perspectives, you create drama and highlight details that might otherwise go unnoticed. Here’s how to evoke emotion through depth of field:
- Focus on the eyes: Capture a toy’s gaze and draw viewers into its tiny world.
- Blur the background: Isolate your subject and make it pop, creating intrigue about its surroundings.
- Shift perspectives: Shoot from below or above to add a sense of scale and adventure.
- Create layers: Position toys strategically to build depth and invite viewers to explore every inch of your shot.
Embrace these techniques, and your toy photos will tell enchanting stories.
Editing Photos With Built-In Iphone Tools
While some editing apps offer advanced features, the iPhone’s built-in tools are surprisingly powerful and user-friendly for enhancing your toy photography. Start by opening your photo in the Photos app and tapping “Edit.” You’ll find options to adjust exposure, contrast, and saturation—perfect for making your toy’s colors pop. Use the “Brilliance” slider to bring out subtle details without overdoing it.
Don’t forget the “Crop” tool to improve composition; sometimes a simple crop can make all the difference. The “Auto” enhance option is also worth a try for quick improvements. If you want to tweak lighting specifically, use the “Light” option to adjust highlights and shadows. Experiment with these tools, and you’ll create stunning toy images effortlessly.
Incorporating Motion and Action
To elevate your toy photography, incorporating motion and action can bring your images to life. Capturing dynamic scenes adds excitement and energy, making your photos stand out. Here’s how you can do it:
- Use Burst Mode: Capture a series of shots in quick succession. This helps you select the perfect moment with your toy in action.
- Play with Angles: Experiment with low or tilted angles to convey speed and intensity. It adds drama and a sense of movement.
- Use Props: Incorporate elements like water splashes or dust clouds. These props can simulate real-life motion, enhancing storytelling.
- Experiment with Slow Motion: Use your iPhone’s slow-motion feature to capture and highlight intricate movements, adding a cinematic touch to your shots.
Embrace creativity and watch your toy scenes come alive!
Utilizing Natural Surroundings
Drawing inspiration from nature can greatly enhance your toy photography, providing a rich and textured backdrop that brings your subjects to life. Use your iPhone to capture toys against stunning natural settings like lush forests, sandy beaches, or vibrant gardens. The key is to incorporate elements like leaves, rocks, or water to add depth and realism to your shots. Experiment with different angles and perspectives, such as shooting from the ground to create a towering effect or capturing reflections in water for a magical touch.
Don’t forget about lighting. Natural light, especially during the golden hours of sunrise or sunset, can add a warm, inviting glow to your images. Keep an eye on shadows and highlights to guarantee they enhance, rather than distract from, your composition.
Sharing Your Work on Social Media Platforms
When sharing your toy photography on social media, choose platforms that align with your style and audience, such as Instagram or Pinterest. Engage with your audience by responding to comments and participating in community discussions to build a loyal following. Don’t forget to use hashtags effectively to increase your visibility and connect with other toy photography enthusiasts.
Choosing the Right Platforms
Sharing your toy photography on social media can be both exciting and rewarding. Picking the right platforms is essential for connecting with the right audience and showcasing your work effectively. Here are four platforms you should consider:
- Instagram: Perfect for visual storytelling with its photo-centric layout. Use hashtags to reach a wider audience and get inspired by other creators.
- Flickr: Great for high-quality, detailed images and joining photography communities. It’s ideal for serious photographers who want to share their best work.
- Pinterest: Use it to create boards that showcase your toy photography. It’s a fantastic way to drive traffic back to your portfolio or blog.
- Facebook Groups: Find niche groups dedicated to toy photography where you can share your work and get constructive feedback.
Engaging With Your Audience
How do you capture your audience’s attention and keep them engaged with your toy photography? Start by crafting compelling stories with each post. Share the inspiration behind your shots or a fun fact about the toy’s history. Consistent posting is key; create a schedule that keeps your audience enthusiastic for more. Engage directly with your followers by asking questions in your captions or encouraging them to share their thoughts. Respond to comments and messages promptly to build a community around your work. Collaborate with other toy photographers to expand your reach and introduce your work to new audiences. Finally, use Instagram Stories or Facebook Live sessions to give behind-the-scenes glimpses into your creative process, deepening the connection with your audience.
Utilizing Hashtags Effectively
To maximize the impact of your toy photography on social media, mastering the art of hashtagging can greatly boost your visibility. Hashtags connect you with a broader audience, making your work easily discoverable. It’s essential to strike the right balance—too few, and you might miss out on exposure; too many, and your post could appear cluttered. Here’s how to evoke emotion and stand out:
- Be Specific: Use niche hashtags like #ToyPhotography or #MiniatureWorld to target enthusiasts.
- Stay Relevant: Incorporate trending tags related to current events or holidays.
- Mix It Up: Combine popular hashtags with lesser-known ones for a wider reach.
- Create Your Own: Craft a unique hashtag for your brand to build a loyal community.
Experiment with these strategies and watch your audience grow!
Frequently Asked Questions
How Can I Protect My Iphone During Outdoor Toy Photography Sessions?
You should use a sturdy phone case to protect your iPhone. Consider a screen protector for extra safety. Avoid water exposure by using a waterproof pouch. Keep a microfiber cloth handy to clean it off.
Are There Any Specific Apps for Toy Photography Enhancement?
You can enhance your toy photography using apps like Snapseed for editing and Photoshop Express for detailed adjustments. Don’t forget VSCO for filters and Lightroom for color grading. Experiment with these tools to elevate your shots.
What Are Some Tips for Photographing Reflective or Shiny Toys?
Imagine capturing Excalibur’s gleam. Use indirect lighting to avoid harsh reflections. Position the toy at angles that reduce glare and experiment with polarizing filters. You’ll reveal the magic without the distracting shine, making your subjects truly legendary.
How Do I Prevent My Toys From Tipping Over During Shoots?
Use sticky putty or double-sided tape to anchor your toys. Adjust the leg positions for better balance. If they’re still tipping, try using small props or supports out of frame to stabilize them during your shoot.
Can I Use Macro Lenses With My Iphone for Toy Photography?
You can definitely use macro lenses with your iPhone to enhance toy photography. They’ll help you capture intricate details and create stunning close-up shots. Just attach the lens, adjust your focus, and start shooting those tiny masterpieces.
At a Glance
As you immerse yourself in the whimsical domain of toy photography with your iPhone, remember that creativity lies in contrasts. A simple toy can become a hero against a dramatic sunset, and a mundane setting can transform into a magical space with the right lighting. By blending the simplicity of toys with the sophistication of your iPhone’s capabilities, you’re not just capturing a photo—you’re crafting stories. Share these tiny adventures on social media and watch your creativity soar.


