
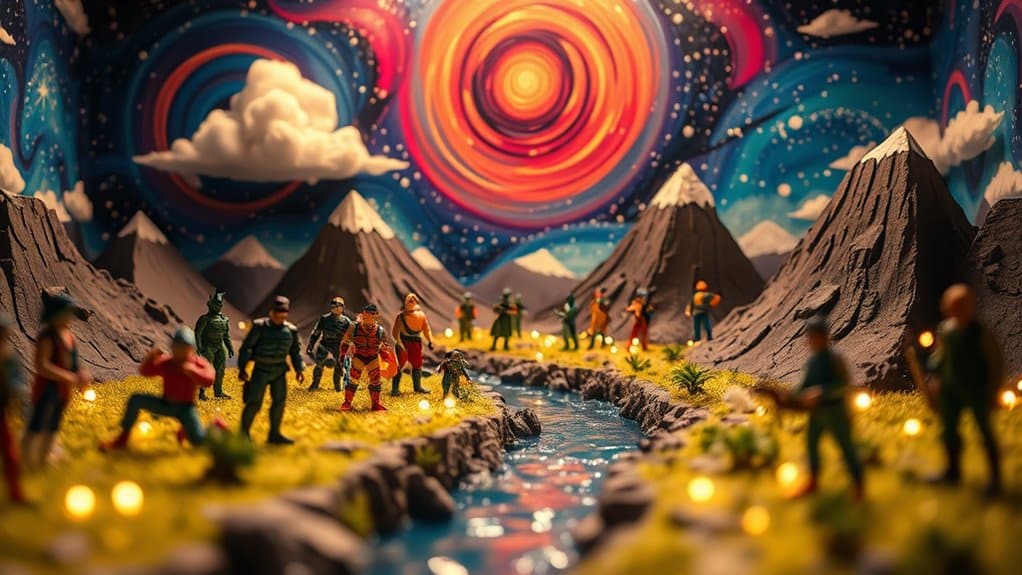
Elevate your toy photography by incorporating natural elements like leaves and stones for dynamic backgrounds. Use miniature furniture or craft DIY backdrops for cozy scenes. Experiment with household items and repurpose old toys for nostalgic touches. Brighten your creativity by integrating light and shadow, and explore food as a playful prop. Vintage objects add character, while custom accessories make scenes unique. There's even more to explore if you're curious for further inspiration.
Incorporating Natural Elements
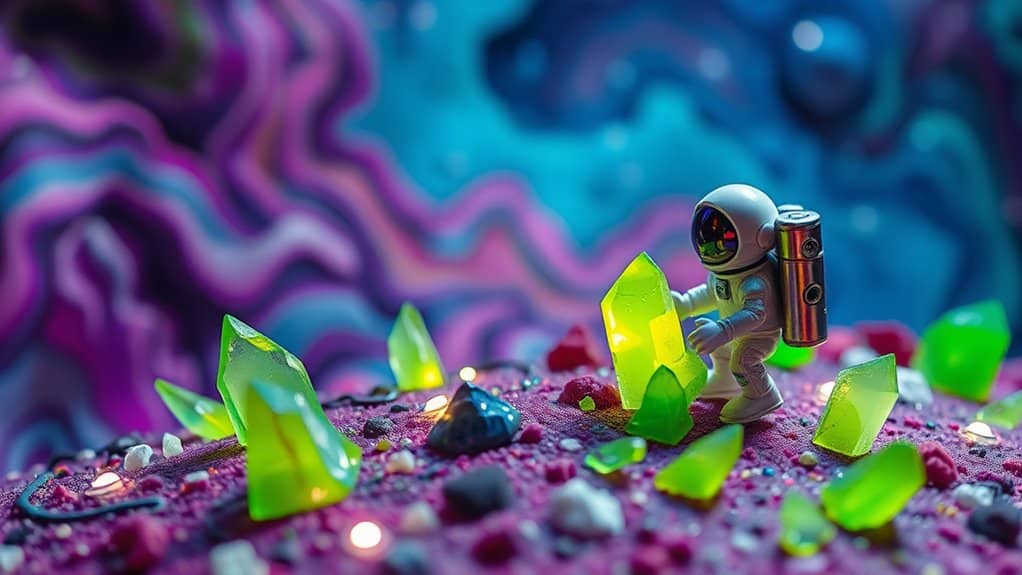
When you incorporate natural elements into your toy photography, you bring a sense of realism and depth to your images. Imagine using leaves, stones, or twigs to create dynamic backgrounds and environments. These elements add texture and authenticity, making your photos more engaging. Consider placing your toys in a patch of grass for a jungle effect or using sand for a desert scene.
You can also experiment with lighting by shooting during the golden hour, when natural light is soft and warm. This creates magical shadows and highlights that enhance your composition. Don't overlook water features like small streams or puddles; they can add reflections and movement to your shots. By thoughtfully integrating nature, you'll transport viewers into the miniature world you've crafted.
Utilizing Miniature Furniture
Miniature furniture can transform your toy photography by adding a layer of realism and context. When you incorporate tiny chairs, tables, or sofas, you create scenarios that make your toy subjects come to life. Imagine setting up a cozy living room scene with a small coffee table and a miniature couch. Your audience will feel like they're peering into a tiny world where your toys reside.
Don't hesitate to get creative with your setups. Use miniature kitchen sets for a cooking scene or a tiny desk for a study session. These props help tell a story and add depth to your photos. Plus, experimenting with different angles and lighting can emphasize the detail of the furniture, making each shot uniquely enchanting.
Creating DIY Backdrops
Creating DIY backdrops can transform your toy photography without breaking the bank. You can explore budget-friendly materials like poster board or fabric and learn easy setup techniques that save time. With a little creativity, you’ll craft customizable designs that perfectly suit your vision. Additionally, consider incorporating natural elements such as leaves or stones to enhance the realism of your scenes. There are plenty of budget backdrop ideas for toys that incorporate themes like nature or urban settings, allowing you to create an immersive atmosphere for your photography. By experimenting with different colors and textures, you can develop a unique backdrop that showcases your toys in the best light.
Budget-Friendly Material Options
If you're diving into toy photography, crafting unique backdrops doesn't have to break the bank. Start with materials you already have at home. Cardboard can serve as a sturdy foundation. Paint it or cover it with fabric scraps for texture. Old newspapers or magazines can create interesting, layered backgrounds. Wrapping paper or wallpaper samples can add vibrant patterns and color.
Consider natural materials too. Gather small branches, leaves, or even sand for outdoor-themed scenes. For a more industrial look, aluminum foil or old metal sheets work wonders. Also, don't overlook thrift stores or dollar stores for affordable fabric, posters, or even small frames to build your backdrop.
Easy Setup Techniques
When setting up your DIY backdrops, a little creativity goes a long way. Start by choosing a location with good lighting, like a sunny window. Use simple materials like colored paper, fabric, or even textured cardboard to create interesting backgrounds. Secure your backdrop with tape or clips to keep it steady during your shoot.
You can quickly transform your space by draping a sheet over a chair or hanging a poster board on a wall. Experiment with angles by tilting your backdrop slightly for dynamic shots. Add depth by placing small props in front of your toy to create layers. Don't be afraid to move things around until you find a setup that complements your toy's story. Happy shooting!
Customizable Design Ideas
Craftsmanship shines through in the art of building DIY backdrops that enhance your toy photography. By creating custom backgrounds, you inject personality and context into your shots. Start by identifying a theme or story you want to tell. Gather materials like cardboard, fabric, or paper. Use paint, markers, or digital prints to add details, creating scenes that complement your toys.
Experiment with textures and layers to add depth. For example, use cotton for clouds or sand for desert landscapes. Don't shy away from using household items creatively—like using a baking sheet for a metallic floor. The goal is to craft a unique setting that transforms toys into mini-worlds. With practice, your backdrop designs will become indispensable storytelling tools.
Experimenting With Household Items

While you're setting up for your next toy photography session, don't overlook the potential of everyday household items to bring your scenes to life. Items like kitchen utensils, fabric scraps, and stationery can transform your setup. A whisk, for instance, can simulate a futuristic cage or a miniature metallic structure. Use a cheese grater as a backdrop to create interesting shadows and textures. Fabric pieces add depth and color, simulating landscapes or skies behind your figures. Even a simple piece of foil can reflect light, adding dramatic effects to your shots. Paperclips, rubber bands, and pencils can become striking architectural elements. Get creative with what you already have, and you'll discover new ways to enhance your toy photography with minimal effort.
Repurposing Old Toys
You've got a treasure trove of possibilities with old toys waiting to be transformed into creative props. Mix and match vintage pieces to create intriguing scenes or upcycle them into unique backgrounds for your shots. By breathing new life into these forgotten toys, you'll add a fresh and imaginative touch to your photography.
Transforming Vintage Toy Pieces
Dust off those old toys stored away in the attic, because they're about to become the stars of your next photo shoot. Look at each piece with fresh eyes. That vintage robot with a missing arm? It could tell a story of a battle-scarred hero. The worn-out dollhouse furniture might serve as the perfect backdrop for a whimsical scene. Use a bit of paint to refresh colors or add a layer of texture to create depth.
Don't hesitate to mix and match parts from different toys to create unique characters. A dinosaur with a knight's helmet could be the protagonist of a fantastical tale. By transforming these vintage pieces, you'll not only breathe new life into them but also bring an authentic, nostalgic charm to your photos.
Combining Toys for Creativity
When it comes to repurposing old toys, combining different pieces can ignite your creative spark and lead to one-of-a-kind creations. Start by digging through your forgotten toy box or thrift store finds. Look for contrasting elements like a robot's arm paired with a dinosaur's body. Mix and match to create whimsical scenes or unexpected characters. You might find that a dollhouse chair fits perfectly with an action figure, creating a quirky narrative. Experiment by attaching parts with glue, tape, or even tiny magnets for reusability. By blending genres and eras, you'll craft unique subjects for your toy photography, adding depth and intrigue. Remember, there are no rules, only endless possibilities when you let your imagination take charge.
Upcycling for Unique Backgrounds
While transforming old toys into creative backdrops might seem unconventional, it offers an exciting opportunity to enhance your toy photography scenes. Start by rummaging through your old toy collection. Broken action figures, discarded blocks, or mismatched dollhouse furniture can become dynamic elements in your photos. Picture a vibrant Lego wall or a towering block structure as a backdrop. Old toy cars can line a street scene, adding depth and interest.
You don't need to spend money to achieve stunning results. By creatively repurposing what you already have, every toy carries potential. A pile of colorful building blocks can mimic urban landscapes or futuristic cities. Experiment with angles and lighting to bring these upcycled backgrounds to life. You'll find that unique, enchanting scenes are just a toy box away.
Adding Seasonal Decor
Embracing the charm of the seasons can elevate your toy photography by incorporating seasonal decor into your scenes. Capture the essence of each season by using props like autumn leaves, winter snowflakes, spring flowers, or summer beach accessories. These elements can instantly transform a simple setup into an enthralling, story-filled image.
Start by thinking about the season's colors and textures. For fall, experiment with warm tones and rustic textures; for winter, try white and silver with icy accents. Don't underestimate the power of natural materials you can find outdoors, like pine cones or seashells. By thoughtfully curating your props, you create a narrative that resonates with your audience. Your toys become characters in a larger seasonal story, making your photos truly engaging.
Exploring Food as Props
Incorporating food as props in your toy photography can bring a delightful and whimsical touch to your scenes. Think of a tiny toy figure sitting beside a towering cupcake or a miniature picnic spread with colorful candies. Food can add scale, color, and humor, making your photos more engaging. You might use cookies as stepping stones or berries as oversized balloons.
Experiment with textures and shapes; a swirling pasta can mimic a whimsical landscape, while a slice of fruit can serve as a vibrant backdrop. Consider how food can tell a story or create a mood. A toy chef "cooking" in a mini kitchen or a superhero saving the day with a giant donut can make your photos imaginative and fun.
Integrating Light and Shadow
To elevate your toy photography, consider how light and shadow can transform your scenes. They're not just background elements; they're dynamic tools to create mood and depth. Start by experimenting with different light sources. Natural sunlight can cast dramatic shadows, while a desk lamp might highlight tiny details.
Here's how you can integrate light and shadow effectively:
- Positioning: Adjust your light source for dramatic angles or soft highlights. Move it around to find the perfect spot.
- Texture: Use textured surfaces to cast interesting shadows. A lace curtain or a plant can add complexity to your scene.
- Color: Colored lights can change the atmosphere entirely. Try using colored gels or bulbs to see how they affect the mood.
Playing with these elements will enhance your storytelling.
Crafting Custom Accessories
When crafting custom accessories for your toy photography, consider making DIY miniature props to add a personal touch to your scenes. You can also use upcycled materials, transforming everyday items into unique pieces that enhance your setup. This approach not only saves money but also sparks creativity, making your photos truly one-of-a-kind.
DIY Miniature Props
Crafting your own miniature props gives you the power to transform your toy photography into enchanting storytelling. By making custom accessories, you add a personal touch that enhances every scene. Here's a quick guide to get you started:
- Select Your Materials: Choose easy-to-work-with materials like clay, cardboard, or fabric. These allow you to create a wide range of props, from tiny furniture to miniature food items.
- Use Simple Tools: Basic tools like scissors, glue, and paint are perfect for shaping and detailing your props. You don't need expensive equipment to achieve fantastic results.
- Embrace Creativity: Don't be afraid to experiment. Mix colors, textures, and styles to craft unique pieces that reflect your vision.
With DIY props, your photos will truly stand out!
Upcycled Material Ideas
While reducing waste and saving money, upcycling materials for your toy photography can also spark creativity in unexpected ways. Explore your recycling bin and pull out items like bottle caps, cardboard, and old fabric scraps. These can transform into miniature furniture, unique backdrops, or stylish accessories.
Consider using bottle caps as tiny stools or tables. Cardboard can be cut and painted to create intricate scenery or props. Fabric scraps make excellent rugs, curtains, or even clothing for your figures. Old electronics can be dismantled for gears and parts, adding a futuristic touch to your scenes.
Utilizing Vintage Objects
Picture a classic typewriter or a weathered suitcase as the perfect backdrop for your toy photography. Vintage objects bring a sense of nostalgia and charm, adding depth to your scenes. When you incorporate these timeless pieces, you tell a story that resonates with viewers. Imagine your action figures exploring an old-world setting or your dolls enjoying a retro adventure.
Here's how you can creatively use vintage items:
- Scale and Contrast: Place tiny toys against large vintage items for dramatic impact.
- Texture and Color: Use the unique textures and faded colors of vintage objects to enhance the mood.
- Storytelling Elements: Integrate items like old cameras or books to add layers to your narrative.
Let vintage treasures elevate your toy photography!
Frequently Asked Questions
How Can I Safely Transport My Toy Photography Props?
You can safely transport your props by using padded bags or cases. Wrap fragile items in bubble wrap or soft cloth. Organize using compartments to prevent shifting. Don't forget to label and handle everything with care.
What Materials Are Best for Creating Realistic Weather Effects?
You should use materials like cotton for clouds, clear resin for water, and talcum powder for snow. These materials help you create realistic weather effects while maintaining the safety and integrity of your toy photography setup.
How Do I Select Props That Complement the Story I'm Telling?
Choosing props is like opening a universe of endless possibilities. Make sure they enhance your story by reflecting its mood and theme. Consider colors, textures, and scale, making certain each piece adds depth and authenticity to your narrative.
What Are the Best Storage Solutions for Organizing Small Props?
You'll want to use clear storage bins with dividers or small drawers for organizing tiny props. Label everything for easy access. Using stackable containers maximizes space, while keeping items visible guarantees you'll find what you need quickly.
How Can I Ensure My Props Are Scale-Appropriate for Different Toys?
How do you guarantee props are scale-appropriate? You should compare toy and prop dimensions, use a consistent measurement system, and test visually. Don't hesitate to adjust or modify props to achieve the perfect scale fit.
At a Glance
In the domain of toy photography, your creativity knows no bounds. Like Alice stepping through the looking glass, let your imagination wander as you incorporate nature, craft DIY backdrops, and repurpose old toys. Experiment with light and shadow, just as Van Gogh played with paint and canvas. Embrace vintage charm, explore food artistry, and craft custom accessories. Each prop is a brushstroke on your photographic masterpiece, capturing whimsical worlds unseen by ordinary eyes.


