Using grid or honeycomb modifiers in toy photography lets you direct light with precision, preventing unwanted spill and creating striking shadows. These tools enhance focus on your toy figures, emphasizing details and depth. Choose grid modifiers for tight light control and honeycomb for a softer shift. Position them strategically between your light source and subject to control shadows and intensity. Discover how these simple modifiers can transform your scenes into compelling visual stories.
Understanding Grid and Honeycomb Modifiers
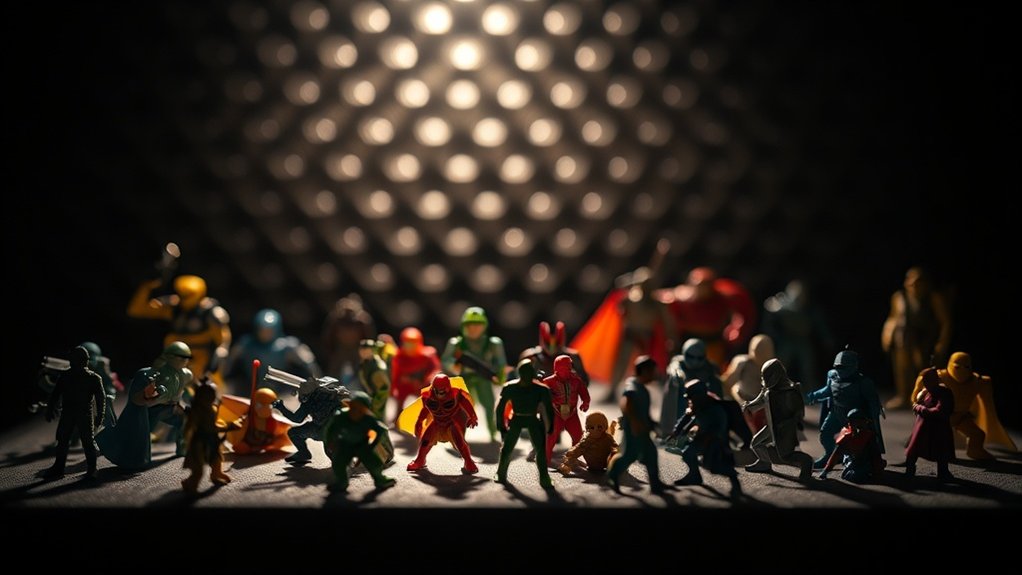
Grid and honeycomb modifiers are vital tools for toy photographers looking to control light and enhance their compositions. These modifiers help you direct light precisely where you want it, preventing unwanted spill and maintaining focus on your subject. By narrowing the light beam, they create dramatic shadows and highlights, adding depth and interest to your photos.
When you use a grid or honeycomb, you’re fundamentally creating a spotlight effect, which is perfect for emphasizing details on your toy figures. They’re especially useful in small-scale setups where precision is key. You’ll find that these modifiers are simple yet powerful, allowing you to transform ordinary scenes into enthralling images. Mastering their use can elevate your toy photography, offering you greater creative control.
Choosing the Right Modifier for Your Setup
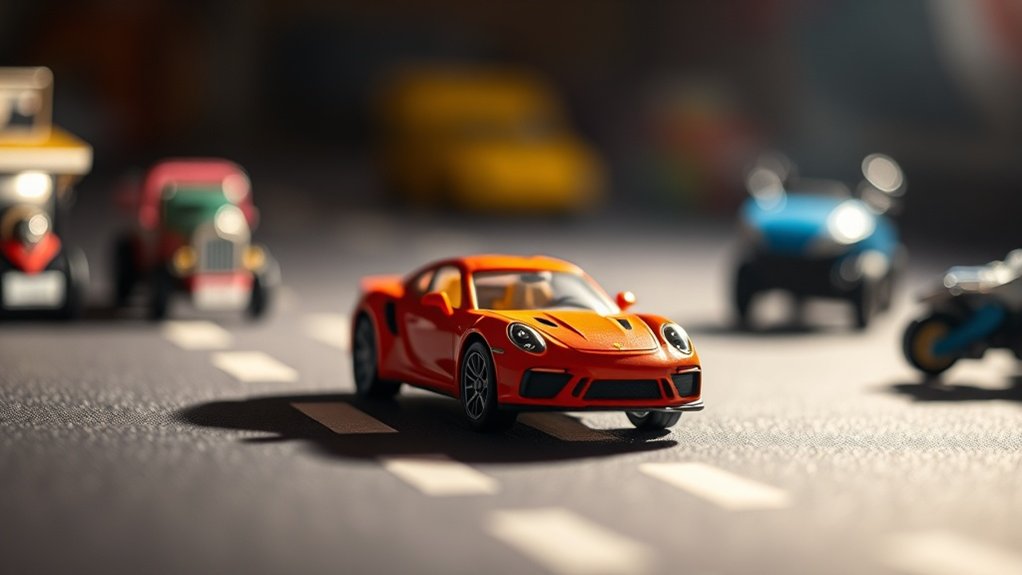
Selecting the perfect modifier can make a significant difference in your toy photography. To choose wisely, consider the scale of your subjects and the mood you aim to create. If you’re working with small figurines and need precise control over light spills, a grid modifier might be your best bet. Grids tighten the beam, directing light exactly where you want it. On the other hand, honeycomb modifiers offer a softer shift and are great for larger setups or when you want a gentle fall-off effect. Evaluate your lighting equipment compatibility too. Confirm your modifier fits securely, promoting stability during shoots. Experiment with different setups, keeping your creative vision in focus. Ultimately, selecting the right modifier enhances the storytelling in your images.
Techniques for Controlling Light With Modifiers

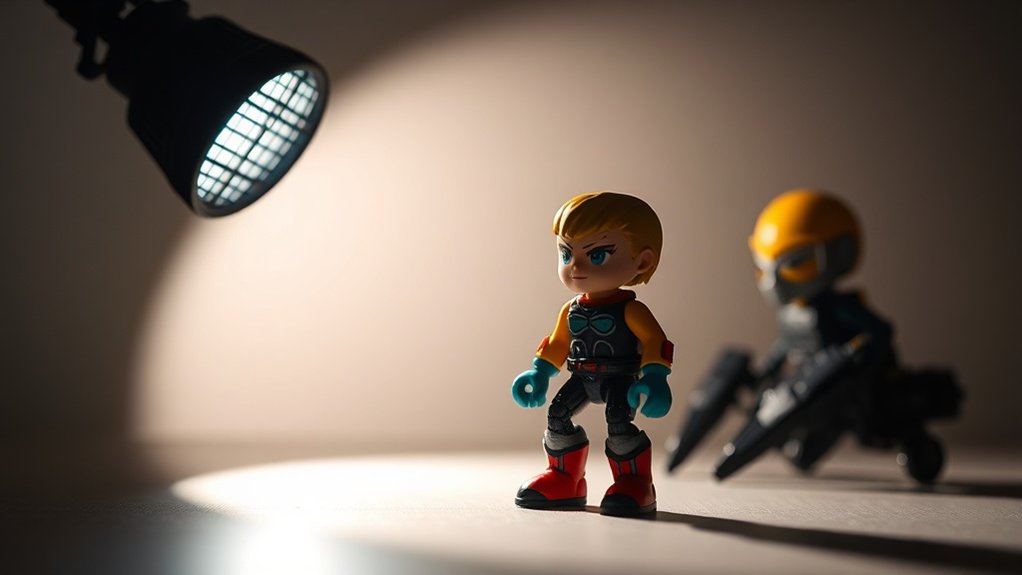
When you’re working with modifiers in toy photography, mastering light control becomes essential to crafting compelling images. Start by positioning your grid or honeycomb modifier between the light source and your subject. This setup narrows the light beam, helping you highlight specific areas while keeping other parts in shadow. Experiment with angles; tilting the modifier can change the light’s direction and intensity, creating depth and focus. Adjust the distance between the light source and subject to control the light’s sharpness and spread. Closer placement results in harder, more defined shadows, while moving it away softens them. Remember, the size of the grid cells impacts the light’s concentration. Smaller cells focus light more tightly, giving you greater control over your scene’s mood and detail.
Creating Dramatic Effects in Toy Photography
With your understanding of light modifiers, you’re ready to explore creating dramatic effects in toy photography. Start by positioning your grid or honeycomb modifier to focus light intensely on a specific area of your scene. This technique adds depth and contrast, instantly drawing attention to your subject. Experiment with angles and distances to create dramatic shadows and highlights, enhancing the mood of your shot.
Adjust your light source’s intensity to emphasize details, making the toy appear more dynamic. Play with color gels over your light to add an emotional layer to your image. A red gel, for instance, can evoke tension or excitement, while blue might convey calm or mystery. These techniques enable you to transform simple toy setups into enthralling stories filled with emotion and intrigue.
Tips for Achieving Professional-Looking Results
To achieve professional-looking results in toy photography, focus on the details that elevate your shots. Start by using grid or honeycomb modifiers to control light direction and intensity. This technique creates depth and highlights your subject’s features, giving it a polished appearance.
Ensure your background isn’t cluttered; simplicity often enhances the subject. Play with angles and compositions; they can dramatically change the narrative of your photo. Don’t overlook post-processing. Adjusting brightness, contrast, and saturation can make your images pop without losing realism.
Experiment with different light sources to achieve various moods. Natural light can be as effective as studio lights when used creatively. Finally, practice patience and perseverance. Consistent experimentation and attention to detail will elevate your toy photography to professional levels.
Frequently Asked Questions
How Do Grid and Honeycomb Modifiers Affect Color Temperature in Photos?
Grid and honeycomb modifiers don’t directly affect color temperature in your photos. They help control light direction and spread. You’ll notice that they maintain your original light’s color balance, keeping your subject’s colors consistent and accurate.
Can Grid and Honeycomb Modifiers Be Used With Natural Light Sources?
You can use grid and honeycomb modifiers with natural light sources. They help you direct and control the light, enhancing your photography by adding depth and focus without altering the natural light’s inherent qualities.
Are There DIY Options for Creating Grid or Honeycomb Modifiers?
Yes, you can create DIY grid or honeycomb modifiers using cardboard or black straws. Just cut and arrange them into a grid pattern, then attach it to your light source for controlled, focused lighting effects.
What Maintenance Is Required for Grid and Honeycomb Modifiers?
Did you know 80% of photographers overlook equipment maintenance? For grid and honeycomb modifiers, regularly clean dust and debris with a soft brush. Check for damage to guarantee consistent performance and extend their lifespan. Don’t neglect them!
Do Grid and Honeycomb Modifiers Fit All Types of Camera Flash Units?
You’re wondering if grid and honeycomb modifiers fit all flash units. They don’t universally fit every model. You’ll need to check compatibility with your specific flash unit or consider using adapters to guarantee a secure fit.
At a Glance
You’ve explored grid and honeycomb modifiers, chosen the right one for your setup, and mastered techniques for controlling light. You’ve created dramatic effects and achieved professional-looking results. With these tools, you’ve transformed your toy photography, capturing every detail, enhancing every shadow, and highlighting every feature. Your journey into focused light has just begun, and with practice, you’ll continue to elevate your art, inspiring others with your creativity and skill. Keep experimenting, keep learning, and keep shining.


