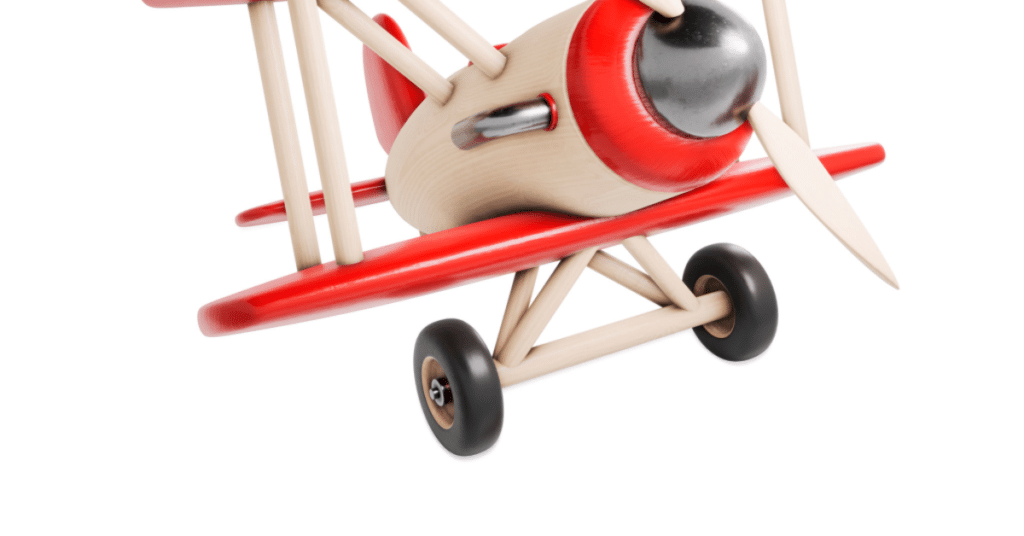
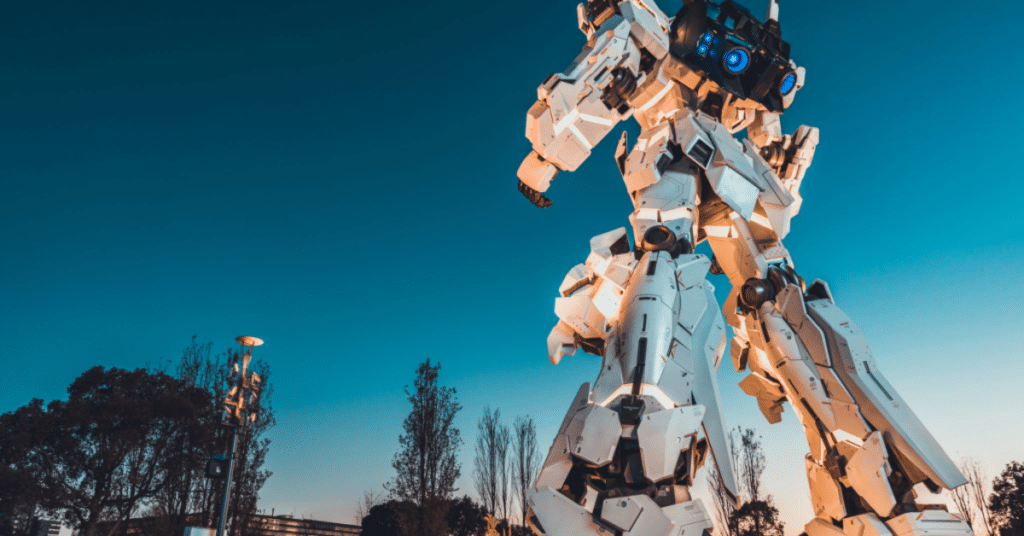
Creating a story through toy photography can be a fun and creative way to capture memories. Whether you’re a professional photographer or an amateur, you don’t need any expensive equipment – just your imagination!
All you have to do is pick out the perfect toy, set the scene and take your picture. With enough practice, you’ll soon be telling unique stories with every shot.
So why not give it a try? You never know what kind of amazing images you’ll create!
Finding Inspiration
Looking for a bit of inspiration to get your imaginative juices flowing? Let’s explore some ideas that can help spark your creativity!
Start by looking at the world around you – what do you find interesting and unique? Maybe it’s a particular toy or setting, or an interesting color combination. If you’re stuck, try flipping through magazines and books to see if any photos stand out.
You can also take a walk outside and look for objects in nature that could make an intriguing composition. Think about how different angles and perspectives can change the story being told in your photo.
Once you’ve found something inspiring, let yourself experiment with different lighting conditions and camera settings to capture the image just how you’d like it. With enough practice, creating stories through toy photography will become second nature!
Choosing a Toy

Picking a plaything that’ll bring your tale alive! Choosing the right toy for your photography is paramount to creating a story. Not only does it need to look good in the shot, but it needs to suit the narrative you’re trying to tell. So how do you pick the perfect piece?
Look around and consider what each figure tells ya about themselves. What kind of emotion do they evoke? If they fit into your plot, then they might just be your ideal match! Once you found them, make sure to take lots of shots from all angles so you can find which one fits best with your vision.
Setting the Scene
Once you’ve chosen the perfect toy, it’s time to set the scene and bring your tale to life!
The setting of any story is important, as it helps create a backdrop for the characters. Consider where your toy might be – will they be exploring an outdoor adventure or cozying up in a home?
Are there props that could highlight their journey – like a pillow for comfort or rocks to climb? Think about what colors could create interesting shadows and perspectives or how various angles might lend themselves to the story.
Once you have a clear idea of what sort of environment suits your character and their mission, take some test shots and adjust until you get the perfect atmosphere. With these elements in place, you’ll be ready to start capturing the magical moments that make up your story!
Taking the Picture
Grab your camera and focus on capturing the perfect moment with your chosen toy! Lighting is key to creating a great shot, so decide if you want natural or artificial lighting.
Natural light gives off a softer, more relaxed feel, while artificial light can be used to produce dramatic shadows. Before taking the picture, make sure all of the elements in your scene are set up just right. Adjust the toys’ positions and test out different angles to get that perfect shot.
Experiment with settings such as shutter speed, aperture size, and ISO level to create unique effects in your images. With some skillful tweaking of your camera’s settings and careful placement of props, you’ll soon be well on your way toward capturing wonderful photographs.
Sharing Your Story
Sharing your unique toy photography story with the world is a great way to express yourself and show off your creative side! Once you’ve taken the perfect photo, there are many ways to share it.
You can upload it to social media platforms like Instagram or Twitter, post it on a blog if you have one, or even print out copies and send them to friends as gifts. Whatever platform you choose, make sure that you include a description of what inspired the photo. This will give viewers an insight into what made the image special for you.
Additionally, be sure to use hashtags so that people can find your work more easily. With these simple steps, you’ll be able to get your story seen by others around the world!
Frequently Asked Questions
What type of camera should I use for toy photography?
When it comes to toy photography, the type of camera you should use is important. For those looking for excellent quality images, a digital single-lens reflex (DSLR) camera is recommended. Not only will this provide you with higher resolution images than other cameras, but it also gives you access to interchangeable lenses, so you can get creative with your shots.
You can even find DSLRs that come in a smaller size and are lighter than their full-frame counterparts, making them easier to carry around and transport.
What are some tips for getting creative with toy photography?
When it comes to toy photography, getting creative can be a challenge. There are several things you should keep in mind to help inspire your creativity.
First, play around with different angles and perspectives to capture unique shots – this could include shooting from above or below the toys.
Second, experiment with light and shadows to create interesting depth in the photos.
Third, try adding small props or accessories to add more visual interest in your pictures.
Lastly, have fun with it! Toy photography is meant to be an enjoyable experience, so enjoy yourself while creating beautiful images.
Are there any specific editing techniques for toy photography?
When it comes to editing photos of toys, there are a few specific techniques that can help you get creative.
To start, try experimenting with the levels and contrast; that’ll help bring out the details in the toy’s features and make them look more realistic.
Another technique is to play around with color saturation; adding just a bit of extra color can bring life to your photos and help make them stand out.
Finally, don’t forget about sharpening; this’ll give your images an extra pop and make them look even better.
What types of props should I use for toy photography?
When it comes to toy photography, props can help bring the story to life. Consider items that fit the theme of your toy’s narrative, like a miniature wooden sword if your toy is a warrior or a small lunch box if they’re headed off to school.
You don’t have to stick with one particular item either; mix and match different props for some added interest in your photos. Have fun with it!
How do I develop my own unique style of toy photography?
Developing your own unique style of toy photography is key to standing out in the industry.
Start by experimenting with different angles and lighting options, while also considering the props you use.
Try using natural materials like wood or fabric as a backdrop, and consider how they can help create a scene for your toys.
Keep an eye on composition, too—think about where the focal point should be and how different elements can be placed within that frame.
Finally, don’t forget to have fun! Toy photography should capture moments full of emotion and joy; allow yourself the freedom to play around with ideas until you find what works best for you.
Conclusion
You’ve created a beautiful story with your toy photography. You found inspiration, chose the perfect toy, set the scene, and captured the perfect shot.
Now it’s time to share your story with the world! Share it on social media and show off your creative side. Let others see how you can create a narrative with just a few simple elements.
You should be proud of yourself for taking this journey into toy photography. It’s not an easy task, but you’ve mastered it and now it’s time to show everyone what you can do!

